

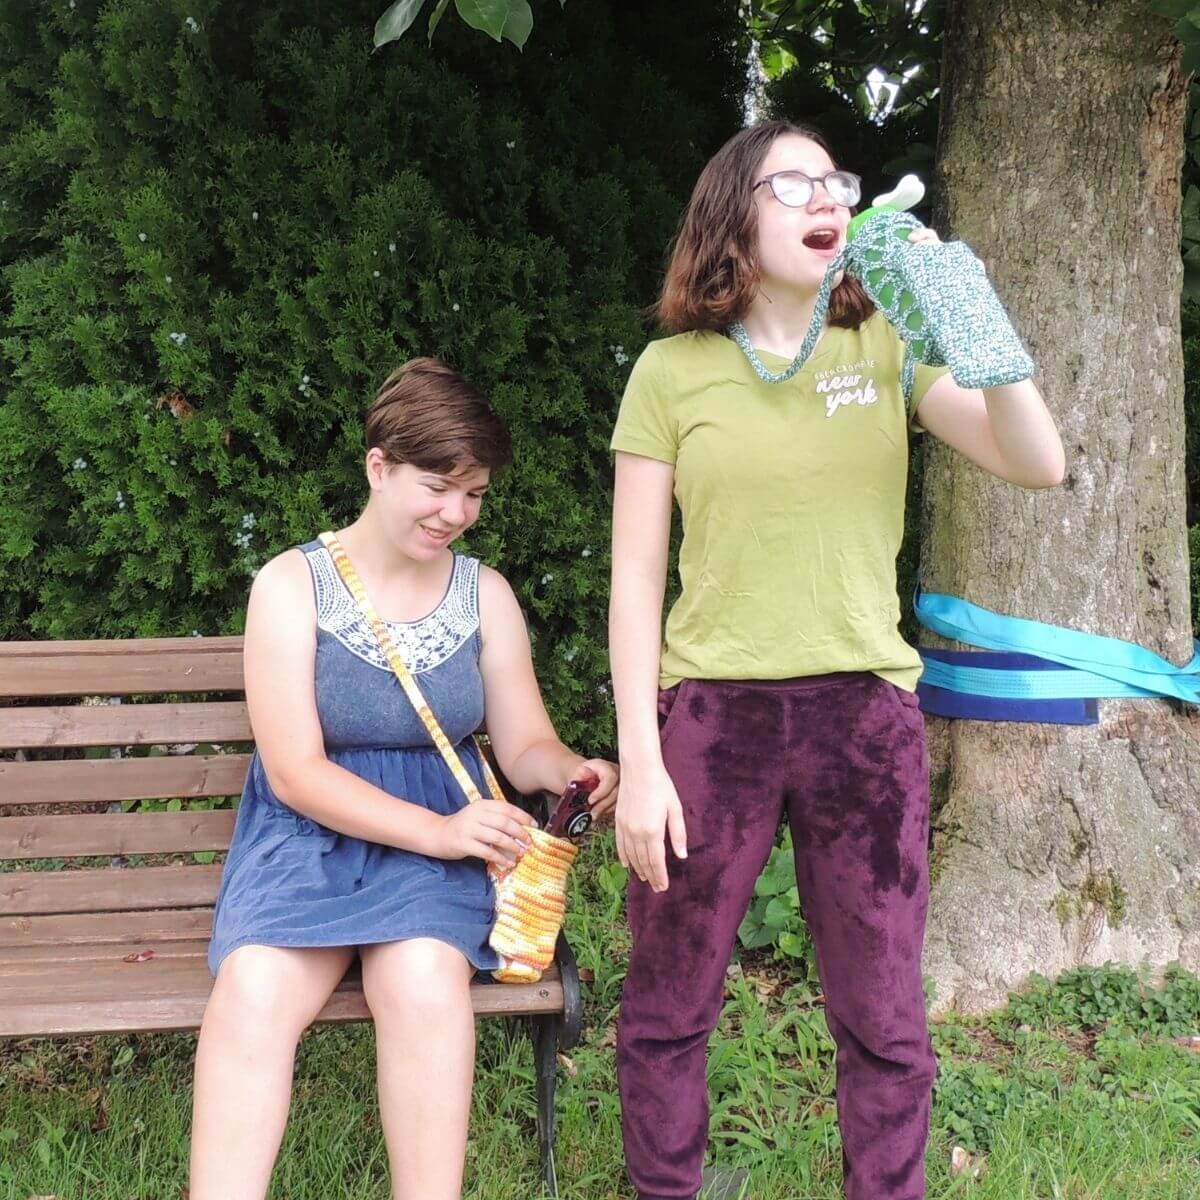
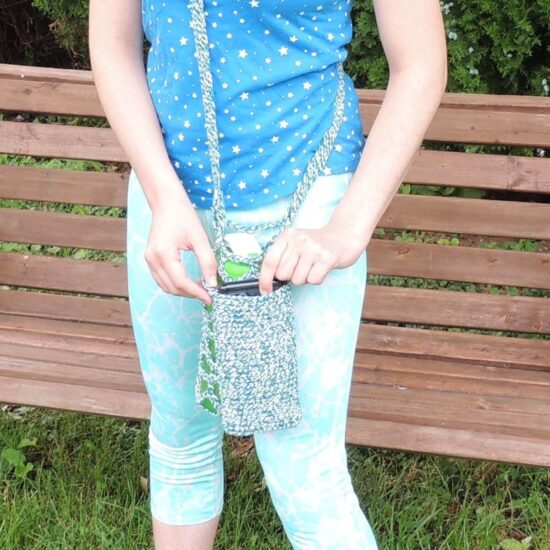
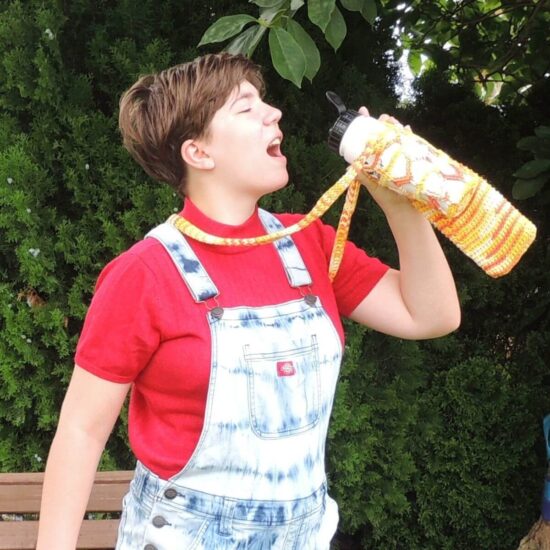
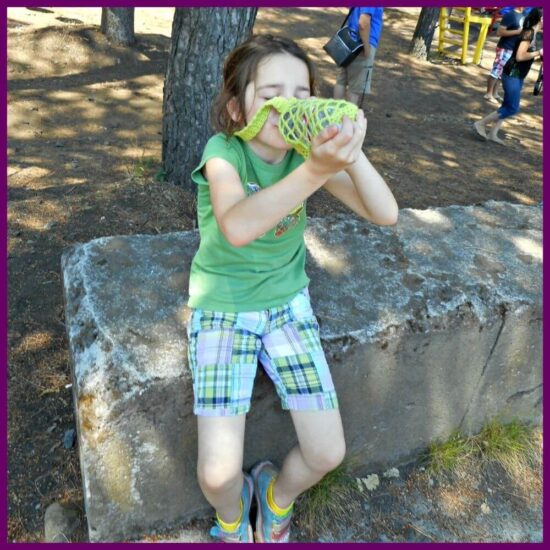
This sensational DIY water bottle and phone holder will carry your essentials so your hands can be free while you enjoy life outside.
Yarn for this pattern was provided by WeCrochet. All opinions are my own.
Enjoy the convenience of never needing a separate hand for your water and phone with Call Me Hydrated. This stylish and sophisticated accessory is, essentially, two items in one. Featuring a water bottle holder, and an integrated phone holder, this free crochet pattern has your back – even when you’re on the go. With its easy to follow pattern and process photos, you’ll want to make one for the whole fam. Try this one-of-a-kind combination and stay hydrated in style.
Table of contents
Not only is it a wonderful merge of form and function, the pattern is also easy to follow with process photos and a video tutorial in addition to the written pattern.
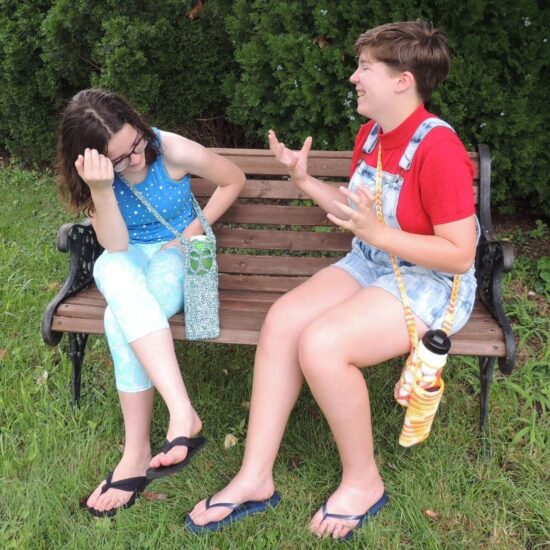
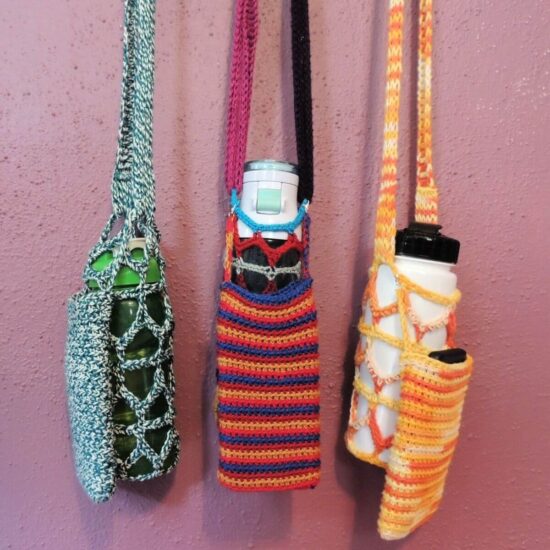
The solid crochet phone pocket clips onto the mesh crochet water bottle carrier so they can be used individually or together. Tuck your ID and debit card in with your phone and you’re set for a great day.
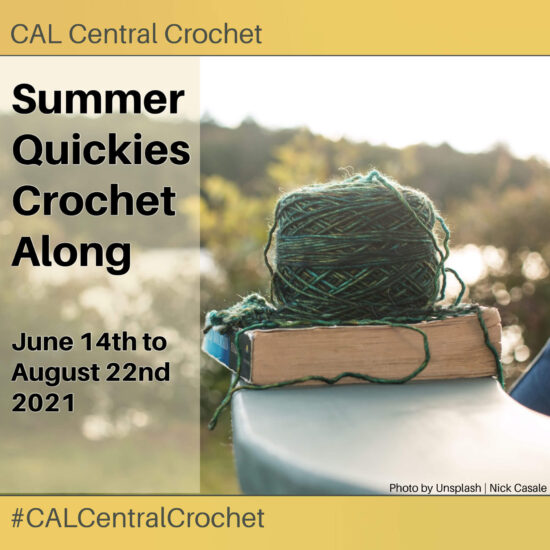
Call Me Hydrated is the July 19th contribution to the 2021 Summer Quickies CAL.
The Summer Quickies CAL is the third crochet along of 2021 hosted in the CAL Central Facebook and Ravelry groups. We’ve brought together ten of your favorite crochet designers to bring you free crochet patterns quick summer projects you can make in an afternoon. Join us to make wonderful projects, chat with other crocheters, and enter for your chance to win a prize!
intro post on Underground crafter
Call Me Hydrated Video Tutorials
Bottle Holder Bottom & Sides Video Tutorial
If you can’t see this video, try watching it on YouTube HERE.
Bottle Holder Strap Video Tutorial
If you can’t see this video, try watching it on YouTube HERE.
Phone Pocket Video Tutorial
If you can’t see this video, try watching it on YouTube HERE.
Call Me Hydrated
Crochet Pattern
Intermediate Skill Level
Designed by Jessie Rayot
Water Bottle and Phone Holder Supplies
Size
Adjustable
Yarn
WeCrochet Dishie (Regular, Multi, or Twist): (100% Cotton), Size 4 – Medium/Worsted/Aran, (11 wpi), 190 yds / 100 g, (1.9 yds/g)
1 skein (190 yds / 100 g) needed
OR
WeCrochet Galileo: (50% Merino Wool, 50% Viscose from Bamboo), Size 2 – Fine/Sport, (12 wpi), 131 yds / 50 g, (2.62 yds/g)
2 skeins (262 yds / 100 g) needed
Crochet Hook
Knitter’s Pride Dreamz used for samples
4.0 mm (US G/6) for Dishie
or
3.5 mm (US E/4) for Galileo
Gauge
Learn about gauge HERE
Not important in this pattern, just be consistent.
Other Supplies
Yarn Needle
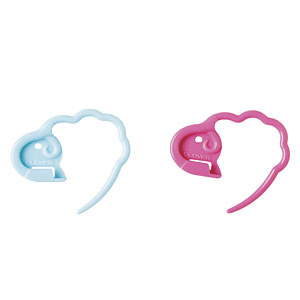
2 Removable Stitch Markers
2 Safety Pins
Stitches and Abbreviations
click on highlighted sts for tutorials
ch – chain
pm – place marker
rm – remove marker
rs – right side
rnd – round
sc – single crochet
sl st – slip stitch
sp(s) – space(s)
st(s) – stitch(es)
ws – wrong side
( ) – work step in parentheses in indicated stitch
[ ] – work step in brackets number of times indicated
Get the Ad-Free Printable PDF at These Sites
Pattern Notes
- Read through all instructions before beginning.
- Please note there are several yarns suggested in the supply list. You need 100 grams of EITHER any of the Dishie yarns OR Galileo yarn.
- Rnd/Row counts are at the end of each Rnd/Row after the period, if the count has changed from the previous Rnd/Row. {count here}
- Chs and sl sts are not included in stitch counts unless specified.
Call Me Hydrated Pattern
Bottle Holder
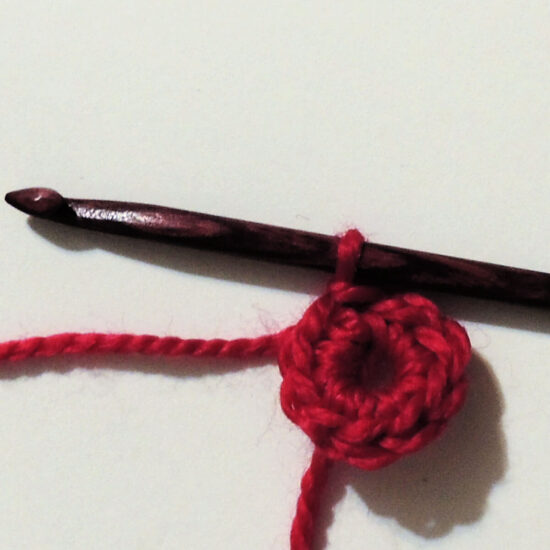
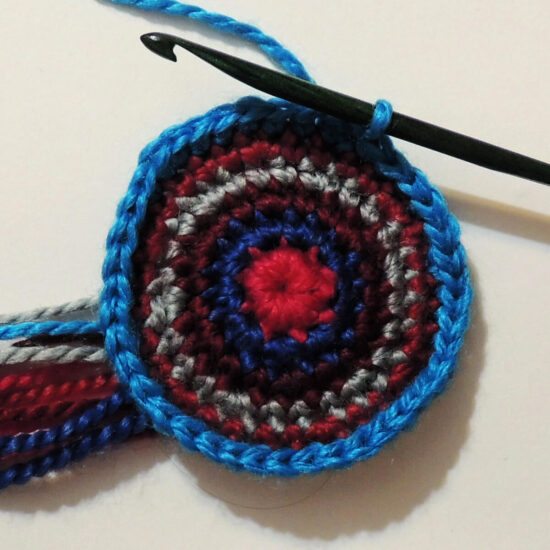
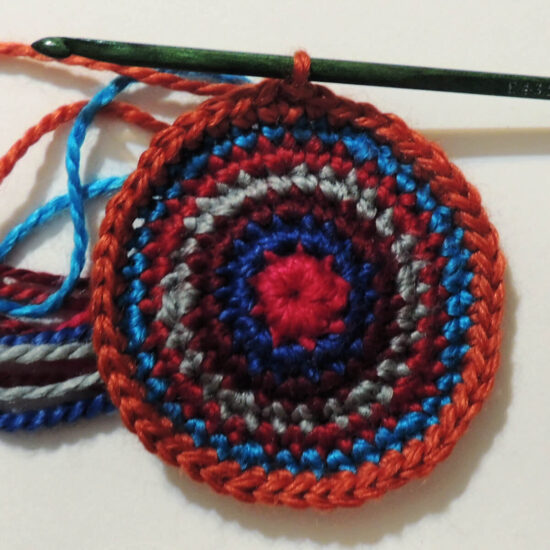
Bottle Holder Bottom
Work until piece is the size of the bottom of water bottle, then move onto sides. Usually 2.5 – 3” across is a good size.
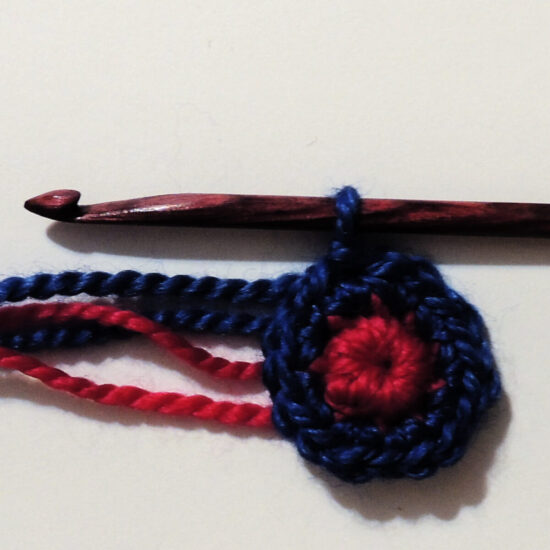
Rnd 1: Ch 4, sl st in first ch made to form a loop, ch 1, 9 sc in loop, sl st to top of first sc. {9 sc}
Rnd 2: Ch 1, 2 sc in each st around, sl st to top of first sc. {18 sc}
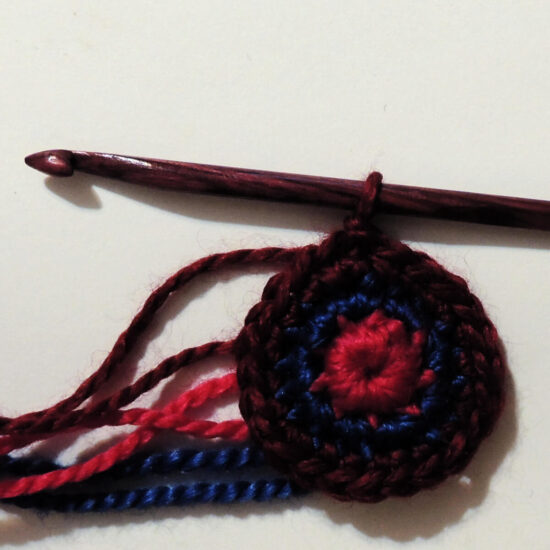
Rnd 3: Ch 1, sc in first st, [2 sc in next st, sc in each of next 2 sts] 5 times, 2 sc in next st, sc in last st, sl st to top of first sc. {24 sc}
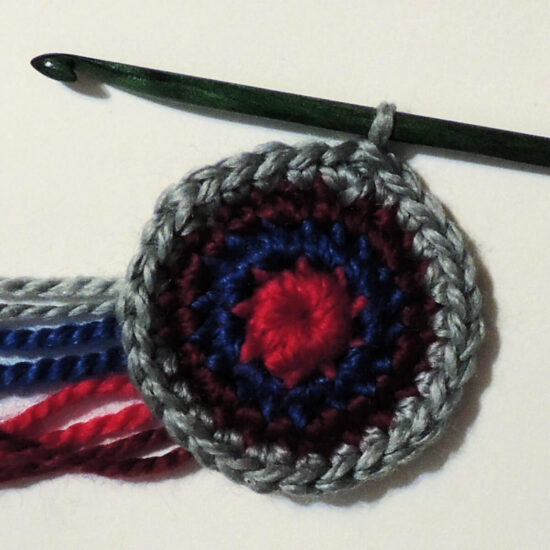
Rnd 4: Ch 1, 2 sc in first st, sc in each of next 3 sts, [2 sc in next st, sc in each of next 3 sts] 5 times, sl st to top of first sc. {30 sc}
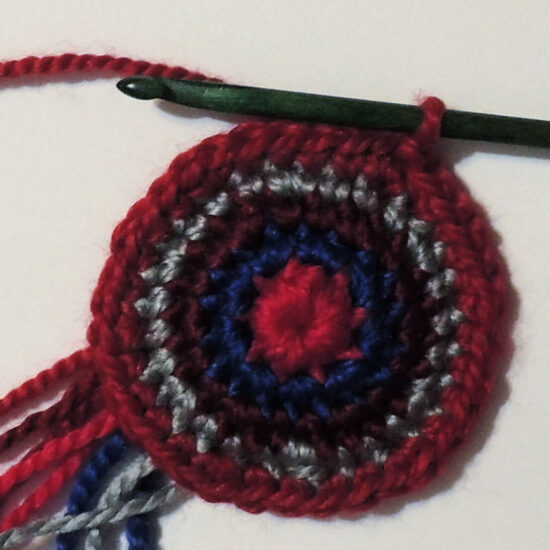
Rnd 5: Ch 1, sc in each of first 2 sts, [2 sc in next st, sc in each of next 4 sts] 5 times, 2 sc in next st, sc in each of last 2 sts, sl st to top of first sc. {36 sc}
Rnd 6: Ch 1, 2 sc in first st, sc in each of next 5 sts, [2 sc in next st, sc in each of next 5 sts] 5 times, sl st to top of first sc. {42 sc}
Rnd 7: Ch 1, sc in each of first 3 sts, [2 sc in next st, sc in each of next 6 sts] 5 times, 2 sc in next st, sc in each of last 3 sts, sl st to top of first sc. {48 sc}
Rnd 8: Ch 1, 2 sc in first st, sc in each of next 7 sts, [2 sc in next st, sc in each of next 7 sts] 5 times, sl st to top of first sc. {54 sc}
Rnd 9: Ch 1, sc in each of first 4 sts, [2 sc in next st, sc in each of next 8 sts] 5 times, 2 sc in next st, sc in each of last 4 sts, sl st to top of first sc. {60 sc}
Bottle Holder Sides
Rnd 1: Ch 1, sc in first st, ch 7, [skip 5 sts, sc in next st, ch 7] until 5 sts remain, sl st to top of first sc.
Rnd 2: Ch 1, sc in first sc, (4 sc, ch 3, 4 sc) in ch-7 sp, [sc in next sc, (4 sc, ch 3, 4 sc) in ch-7 sp] around, sl st to top of first sc.
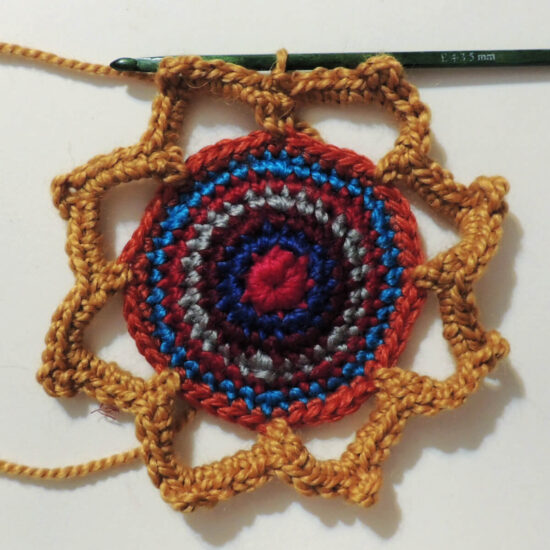
Rnd 3: Sl st in each of first 4 sc, sl st in ch-3 sp, ch 1, sc in same ch-3 sp, [ch 5, sc in next ch-3 sp] around, sl st to top of first sc.
Rnd 4: Ch 1, sc in first sc, 5 sc in ch-5 sp, [sc in next sc, 5 sc in next ch-5 sp] around, sl st to top of first sc.
Repeat Rows 1-4 to desired height, being sure to end with a repeat of Row 4.
Fasten off then weave in all ends.
Important: Keep in mind a full water bottle is heavy and will stretch the holder. Test height with a full water bottle and let it pull the holder if possible. If the holder is too long, it will be hard to get to the bottle.
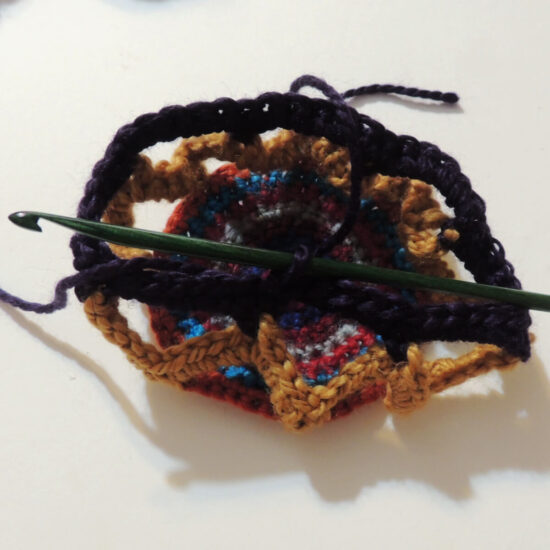
Bottle Holder Strap
Leave a long starting and ending yarn tail.
Determine the length needed by using a measuring tape as a strap on your body (or the body of someone else), then add 4”.
Row 1a: Ch 6, insert hook through bottom bump of 2nd ch from hook, yo, pull up a loop (2 loops on hook), [insert hook through bottom of next ch, yo, pull up a loop] 4 times (6 loops on hook).
Row 1b: Yo, pull through 1 loop, [yo, pull through 2 loops] 5 times.
Row 2a: Insert hook between vertical bars of second stitch, yo, pull up a loop (2 loops on hook), [insert hook between vertical bars of next st, yo, pull up a loop] 4 times (6 loops on hook).
Row 2b: Yo, pull through 1 loop, [yo, pull through 2 loops] 5 times.
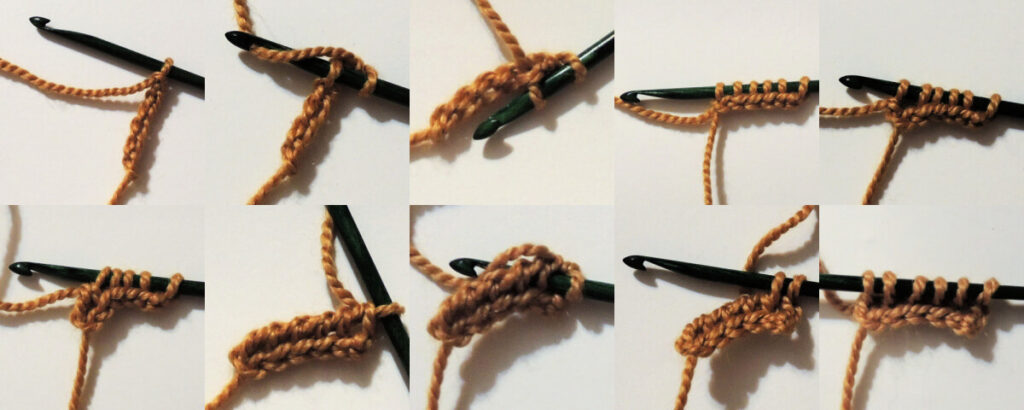
Repeat Row 2 until piece is desired length when pulled tight.
Finishing
- Loop one end of Strap around one side of Bottle Holder, fold the Strap up about 2” and safety pin it to itself, repeat with other end of Strap on other side of Bottle Holder.
- Test length of Strap with a full water bottle in it. Adjust Strap length as needed, using the safety pins.
- Use yarn ends from Water Bottle Strap to sew the two ends where they are pinned, remove pins.
Phone Pocket
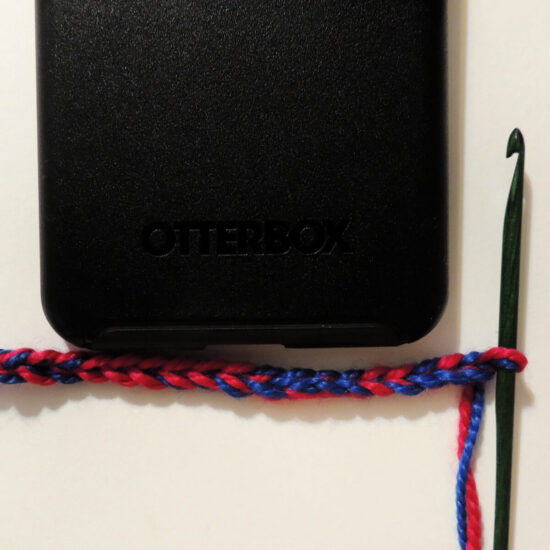
Rnd 1: With 2 strands of yarn, make chains until piece is 1 inch longer than the phone you are using is wide, ch one more, hdc in back loop only of second ch from hook and each remaining ch, rotate piece and hdc in unworked loop of each chain back in the other direction, sl st to top of first hdc made.
Rnd 2: Ch 1 loosely (does not count as a st), pm around loop on hook, hdc in back and third loop of first st, hdc in back and third loop of each remaining st around, sl st to back loop of marked st, remove marker.

Repeat Rnd 2 until pocket is one or two rnds higher than phone.
Fasten off then weave in all ends.
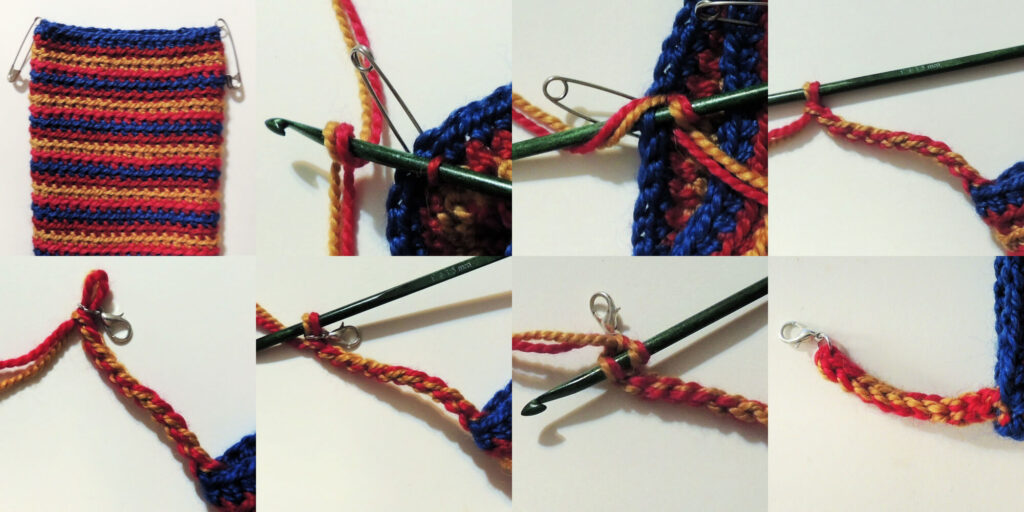
Finishing
- Add a jump ring to a lobster clasp, repeat.
- Lay pocket flat, sl st yarn to one side, ch 10, remove loop from hook, push loop through jump ring, sl st in each of 10 chs, sl st to inside of pocket, fasten off yarn.
- Repeat last step on other side.
- Weave in all ends.
Happy Stitching!
FAQs
Stitches worked in ch-spaces are worked AROUND the chains, not IN them.
FYI for crochet patterns in general: In most cases, if a pattern does not specifically tell you to work each stitch into a chain (i.e. sc in each of the next 5 chains) then you work around the chain, which is also referred to as working in the space.
Make the bottom (the flat circle) until it is the same size as the bottom of your water bottle. If your bottle is an odd shape or gets thick and thin, then measure around the widest part of your bottle. Make the bottom until the circumference (around the edge of the circle) is the same size, give or take 1/2 inch, as the widest part of your bottle.
Then move onto the sides. You don’t have to worry about the math, each additional round of the bottom adds one more repeat onto the sides, so you just work each side round until you get all the way around. Easy-peasy!
As for the height, be sure to fill your water bottle and put it in the holder, then lift from the top of the holder to see if the height is good. A full water bottle will stretch the holder so it’s easy to make it too tall if you don’t try it out with a full water bottle.
If you are going to make this creation, then get some supplies from these affiliate links. You pay the same price, and I get a small referral fee.

Did you enjoy what you found here at Jessie At Home? Then sign up for my newsletter and like my Facebook page, so you’ll get all the updates on new tutorials, other posts, sales, and coming events.
If you have any questions, want to share pictures of your work, or just want to chat with Jessie and other crafty individuals, than join one of our free Zoom Sit & Stitches. Find them on our Events Calendar.

© Copyright 2021 Jessie Rayot / Jessie At Home®, LLC All my videos, patterns, charts, photos and posts are my own work, so you may not copy them in any way. If you want to share this information with someone, then share the link to this post.


Fourth row is not clear in either the pattern itself and the video (I have been crocheting 6 years). Video should be separated so each row has its own section instead of blending it together (consider text on the screen to indicate what row so if people need to see a certain part of the pattern they don’t have to suffer through finding the right row)
I’m not sure what you are finding hard to get about round 4. It is written in standard crochet terms. If you let me know what confused you, I’ll be happy to clarify.
There is only so much time I can invest in editing videos that I provide for free. One on one pattern support is provided through Showstopper Creations.