
Yarn dyeing with Greener Shades Acid Dye was really cool and produced some gorgeous, deep colors. I’m so happy with the results!
This post was sponsored by WeCrochet. All opinions are my own.
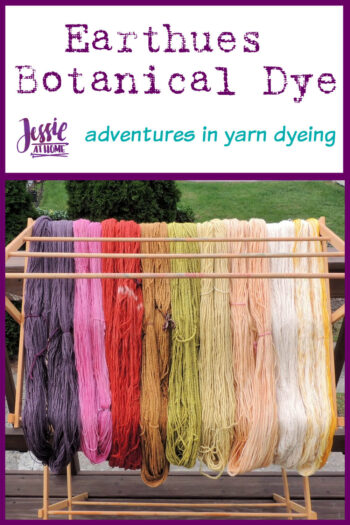
This is the final instalment of Adventures in Yarn Dying with Jessie At Home.
You can find all the details about Adventures in Yarn Dying with Jessie At Home HERE. You’ll find dates and links to the other posts in this series. You’ll also find links for the various supplies you may need.
Supplies from WeCrochet
- Swift and Yarn Winder – Sometimes you’ll need to wind your yarn, sometimes you’ll need to unwind it!
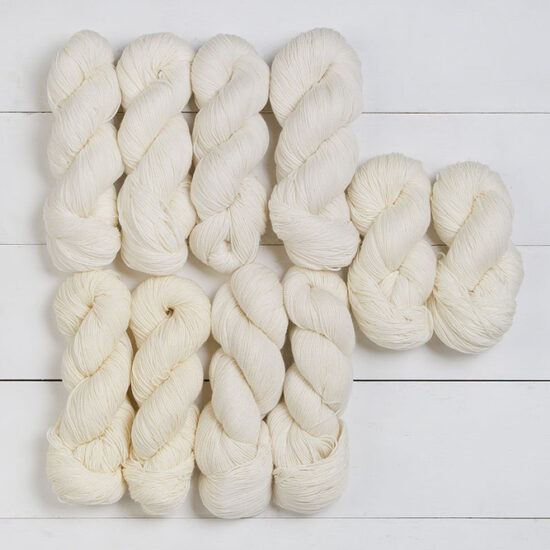
- Bare Yarn – Well, this is obvious. 🙂
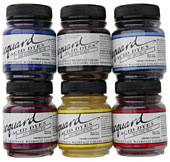
- Dye – There are many options here.
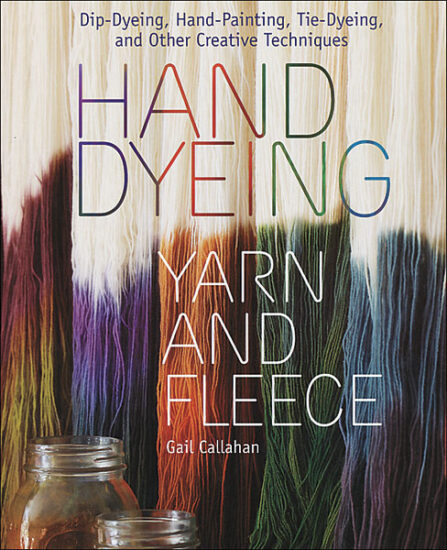
- Book – This book is awesome!
- Greener Shades Dye Kit
Other useful supplies can be found in the intro post.
Squeeze Bottle Yarn dyeing with Greener Shades
I was so excited to try the squeeze bottle technique of dyeing. It’s something I’ve wanted to give a go for a while, probably because it’s sort of like painting. As usual, the first step for dyeing yarn is to soak the yarn hanks until they’re fully wet. This means any yarn that isn’t already in a hank will need to be hanked first.
Hank – big ol’ circle of yarn, wrap it on a swift and tie it loosely in at least 4 places.
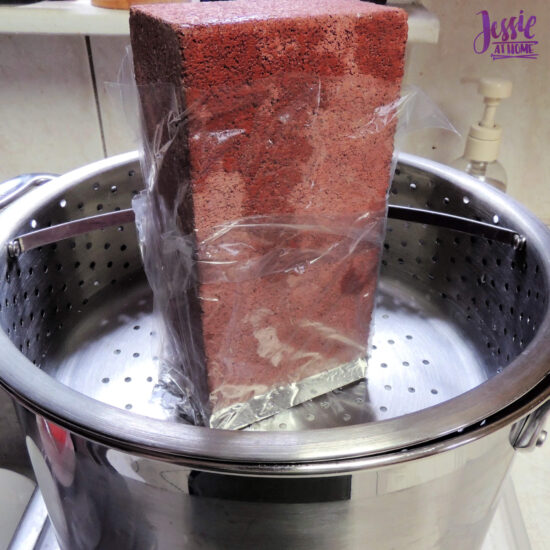
Considering I was just soaking yarn in water and a little vinegar (to help the color stay), I didn’t need to worry about using a non-food pot. So, I filled my giant pasta pot with yarn and water. Then I put the steaming insert on top and weighed it down with a brick. I just pulled out each hank of yarn as it was needed.
This dye does no have to be used in the squeeze bottle technique, but it’s the technique I decided to try out. I gathered the dye, some heat safe paper cups, and squeeze bottles with labels for each color.
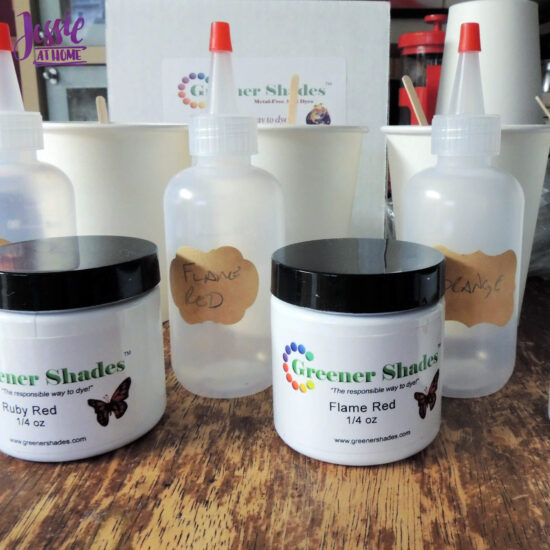
I mixed the colors as per the Greener shades instructions in the paper cups, then poured them into the squeeze bottles. Don’t fret that it will cool down quickly after poured into the bottles, it’s all good.
So now I’ll walk you though how I went about my yarn dyeing with Greener Shades!
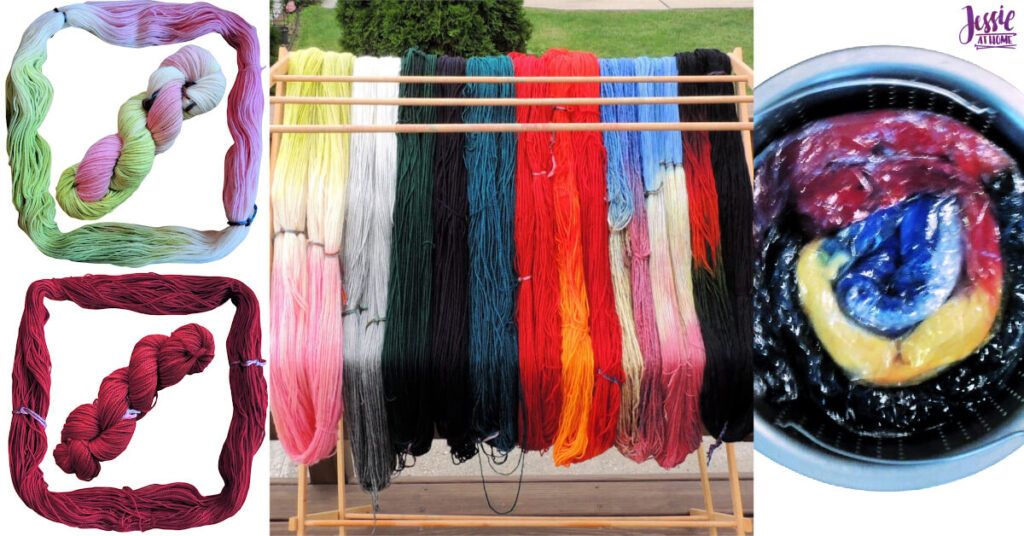
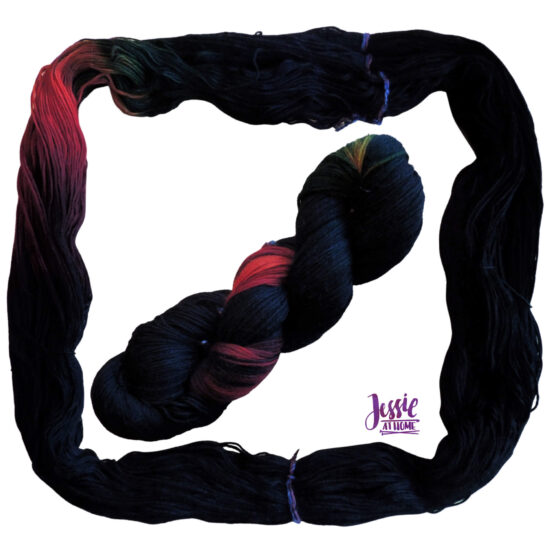
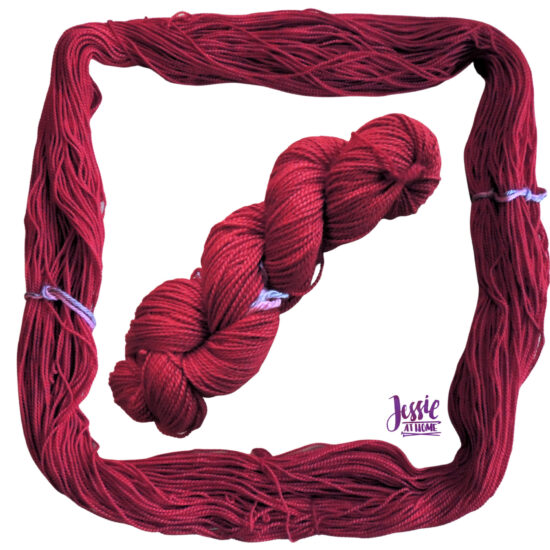
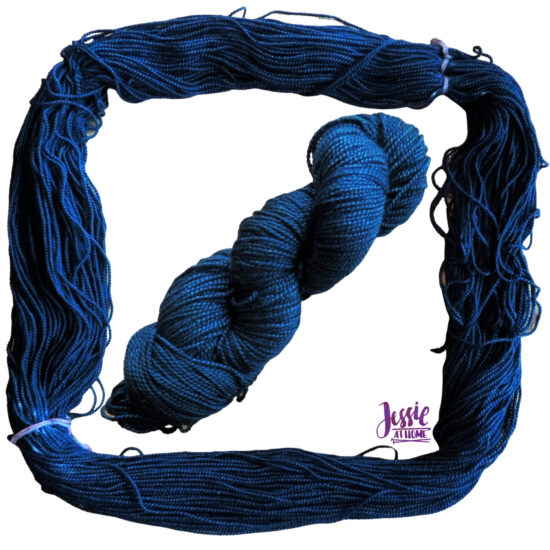
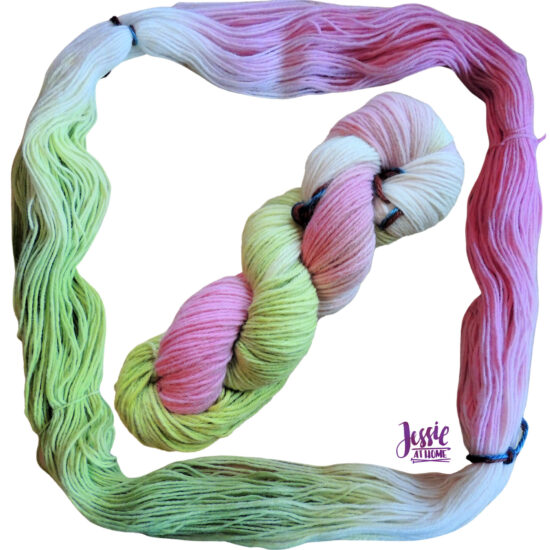
Stroll Fingering in Unicorn Farts (kinda)
Stroll: (75% Fine Superwash Merino Wool, 25% Nylon), Size 1 (fingering weight), 462 yds / 100 g (yds/g = 4.62)
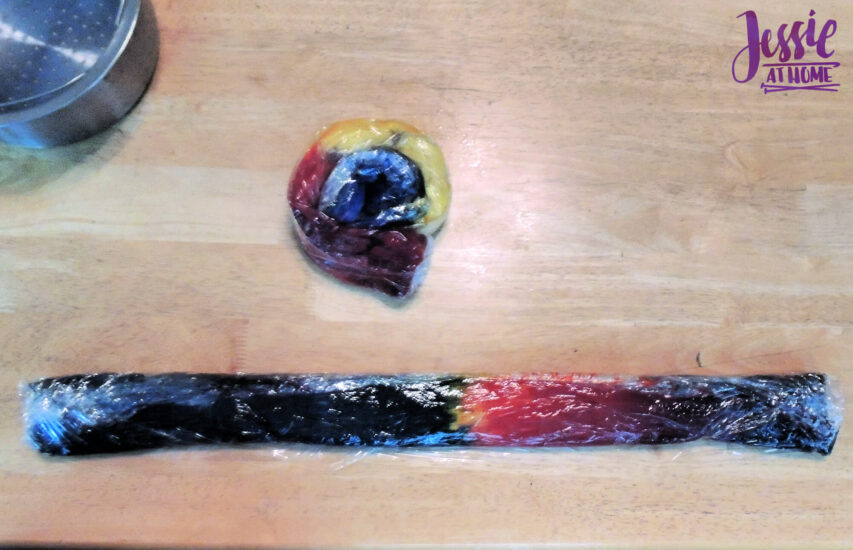
Have you seen Unicorn Farts yarn? It’s got sections of rainbow followed by sections of black. To acheive this I layed out the yarn on some plastic wrap in a circle, then squirted a rainbow with the various bottles of dye over about 1/4 of the circle. Then I covered the rest in black. That’s actually the bottom of these two images. I then flipped the circle over and squirted the dye on it in the same manner to get the other side.
Well, I tried to do it the same. Somehow I completely muddied the second side. Like I said at the beginning of this adventure, I’ll share my mistakes as well as my successes. I think I used too much dye on the first side, and didn’t line up the colors carefully enough on the second side. Unicorn Farts may have been a bit ambitious for a first try with this technique.
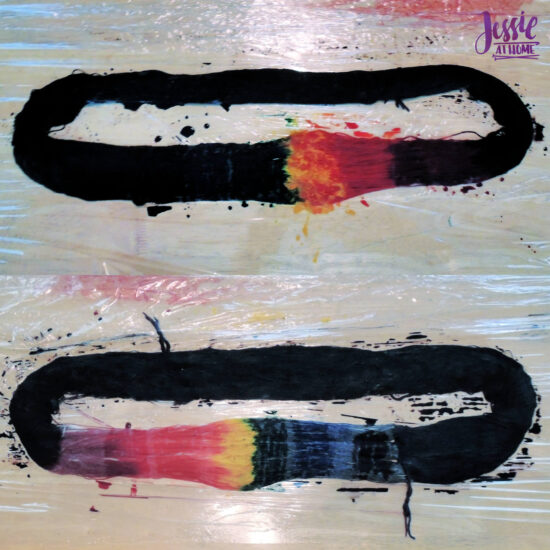
We’ll get to the next step after I show you all the other yarns I dyed this way. In the meantime, here’s the finished yarn. Not so much with the rainbow…
Simply Cotton Fingering in Superhero
Simply Cotton Fingering: (100% Organic Cotton), Size 1 (fingering weight), 437 yds / 100 g (yds/g = 4.37)
I’ve always found blue, yellow, and red to remind me of superheroes. I layed the hank out in a line, and squirted on the 3 colors in thirds. Next I flipped it over and repeated. I did a better job this time. When I spread it out to cover it with more plastic wrap I realized I hadn’t thought out the color separation fully.
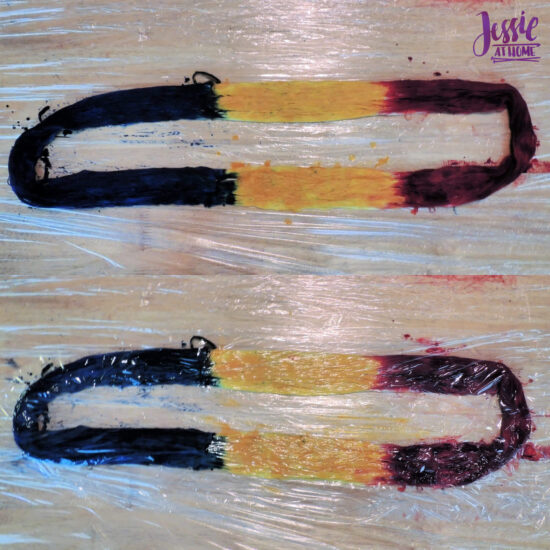
It ended up red, yellow, blue, yellow, and repeat. I didn’t intend on 2 yellow sections, but I had a bit of a brain fry issue when I was laying it out to dye it in the first place.
Billow in Superhero
Billow: (100% Cotton), Size 5 (bulky weight), 120 yds / 100 g (yds/g = 1.2)
I tried the superhero colorway again, but this time I thought it out first. I layed the hank in a triangle, then pinched the sides together a bit and dyed it that way. Front and back, same as before.

This worked much better, don’t you think?

Hawthorn DK in Fire
Hawthorne: (80% Fine Superwash Highland Wool, 20% Polyamide), Size 3 (DK weight), 225 yds / 100 g (yds/g = 2.25)
I love using warm colors to create a fire colorway. I used the same steps as for the superhero, and made sure to overlap them a bit. You can see how I tapered each color off.
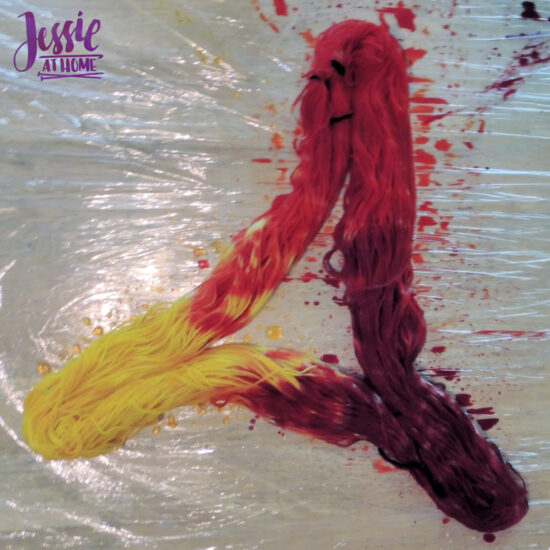
I’m so in love with this one!!
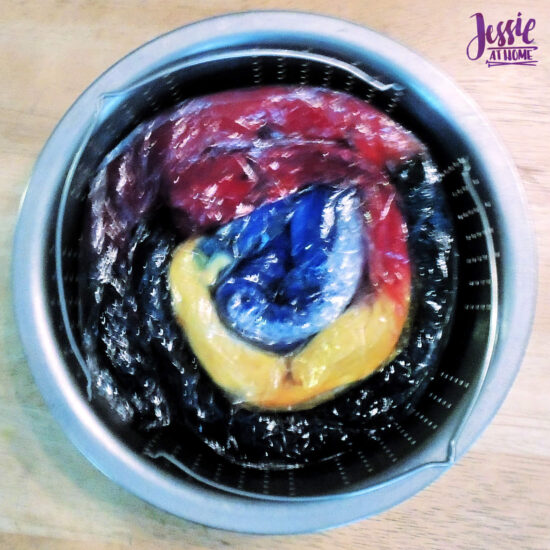
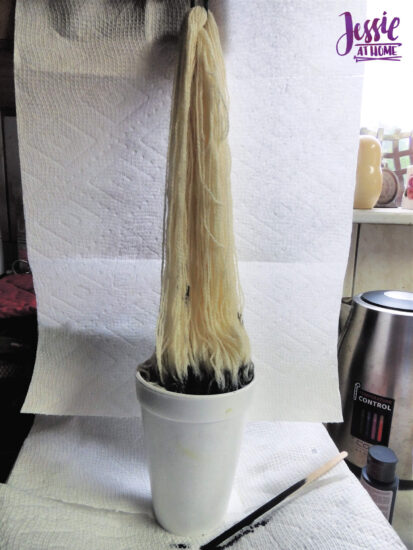
With each of the squeeze bottle dyed yarns, I covered them in plastic wrap after squirting on the dye. I did my best to make sure parts that had different colors didn’t touch so they wouldn’t muddy. Next I flattened them out as best I could. I rolled one into a coil, then another around that one.
After that, I layed them in the steamer basket of my craft pot – DO NOT use a pot you want to use for food again, it will not be food safe after this. I boiled some water in the bottom of my craft pot and them put in the steamer basket.
Make sure the water level is below the bottom of the steamer basket. Put the lid on and steam the yarn for 45 minutes. Then pull it out and let it cool completely.
Once the yarn had completely cooled I rinsed it out and let it dry.
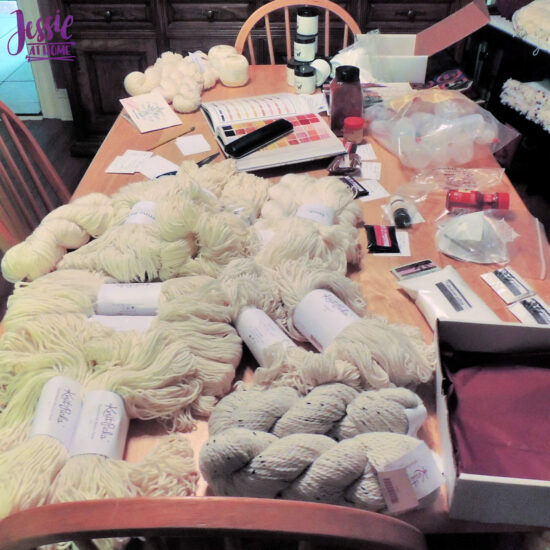
Solid Yarn Dyeing with Greener Shades
Here are the simplified instructions from the Greener Shades Dye, this is essentially how I dyed the solid colors, only I poured the already dissolved dye from the bottles into the pot.
- Prewash yarn, fiber or fabric (goods). Any residual oils or coating will affect results.
- In small container dissolve dye powder in BOILING water. The amount of dye in the 1/2 ounce packet is enough to dye 3 lbs of goods. Stir carefully until fully dissolved.
- Fill large enamel or stainless pot about 2 gallons of warm water per pound of goods. Add soaked goods and dissolved dye. Fully blend by pushing down on goods in pot, squeezing with gloved hand, and/or gentle stirring.
- Heat slowly until a vigorous steam develops. Periodically gently stir to prevent uneven heat distribution. Add 1/4 cup vinegar. Stir gently.
- Bring to slow boil for 5 min. Check for exhausted water. (If water is not almost clear add another 1/4 cup vinegar, stir gently and check again.)
- Turn off or remove from heat, allow to cool. Rinse and air dry.
Flame Red Paragon
Paragon: (50% Fine Merino Wool, 25% Baby Alpaca, 25% Mulberry Silk), Size 2 (X wpi, sport weight), 246 yds / 100 g (yds/g = 2.46)
Aqua Paragon
Purple Superwash Merino Twist
Superwash Merino Twist: (100% Fine Merino Wool), Size 4 (X wpi, aran/heavy worsted weight), 149 yds / 100 g (yds/g = 1.49)
Green Superwash Merino Twist
Yarn Dyeing with Fabric Creations Fabric Paint
Last year a colleague of mine from Plaid told me that you can dye fabric with diluted Fabric Creations paint, so I decided to try it out.
Wool of the Andes in Lime and Fruit Punch
Wool of the Andes: (100% Peruvian Highland Wool), Size 2 (X wpi, sport weight), 262 yds / X g (yds/g = 2.62)
To get started I squeezed about 1 oz of Fruit Punch Fabric Creations in one disposable cup, and about 1 oz of Lime Fabric Creations in another. Then I added about twice as much water in each cup. I gave them both a good stir.
Next I took the pre-soaked yarn and dunked one half in one cup, and the other half in the other. I left the center part between them undyed.
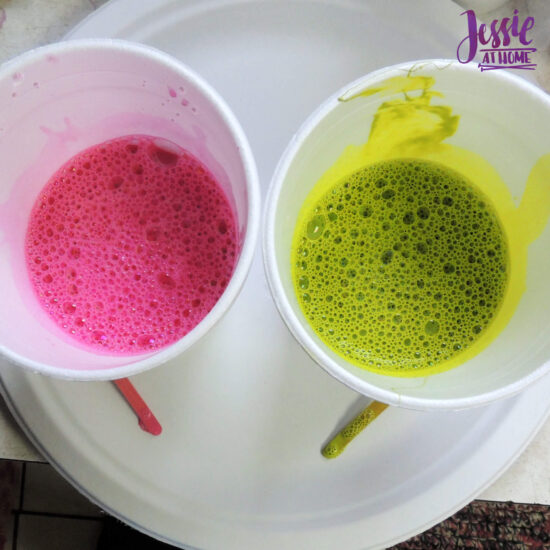
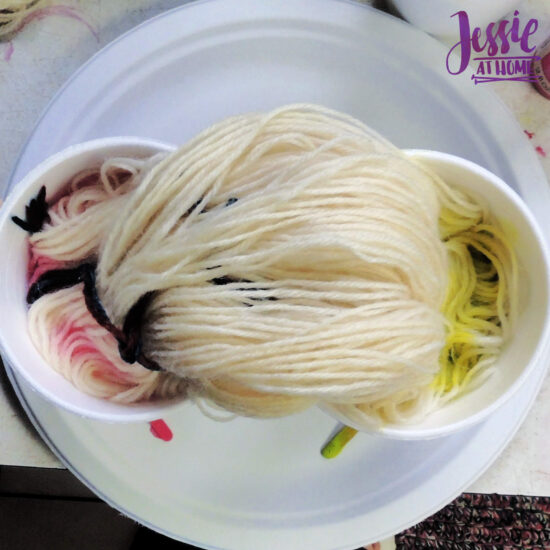
I let the yarn sit in the dye for a couple hours. after removing I gave each end a gentle squeeze and layed it out to dry overnight. Then I gave it a good rinse the next morning and let it dry. I was thrilled to find that the yarn wasn’t stiff or prickly after all this. I doubt just any fabric paint would work for this, the Fabric Creations paint dries much softer than others.
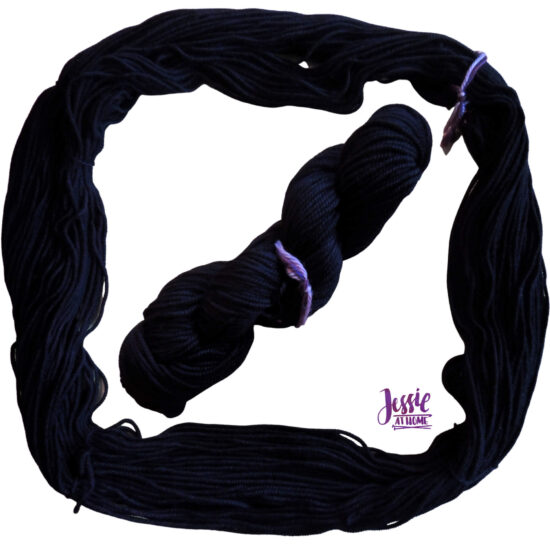
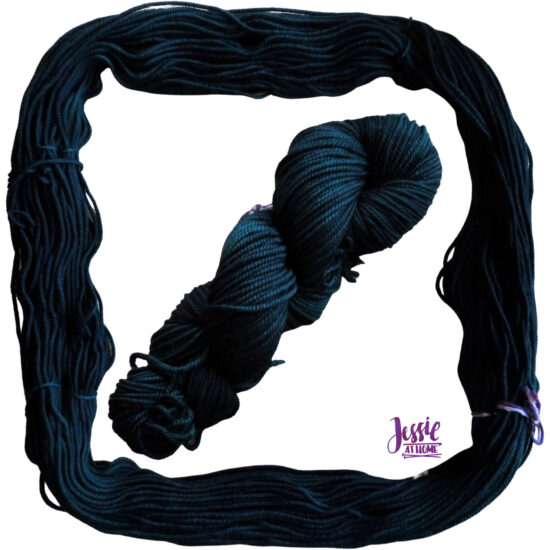
Galileo in Black Fade
Galileo: (50% Merino Wool, 50% Viscose from Bamboo), Size 2 (X wpi, Sport weight), 262 yds / 100 g (yds/g = 2.62)
For the second hank of yarn dyed with Fabric creations, gravity was my friend. I dunked about half the pre-soaked hank in the cup with the diluted paint. Then I used one of the ties on the hank to hang the other half from a cupboard knob.
My hope was that the paint would seep up the hank. It only did a tiny bit. I want to try this again, but without pre-soaking the yarn. I think it might work better.
Still I really love the result!
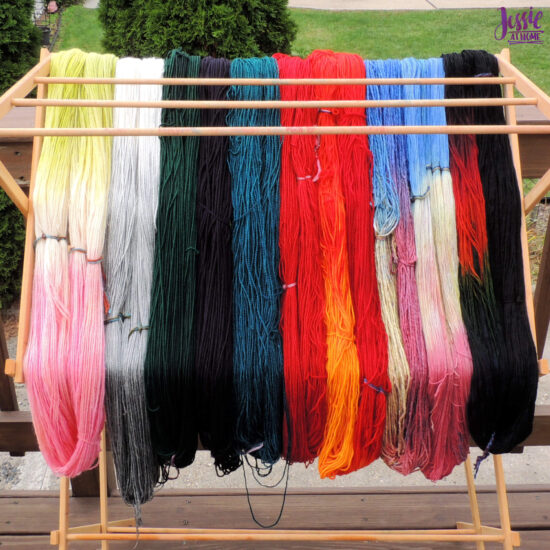
Aren’t they all so pretty!
Here are some supplies you may find useful.
Happy stitching my friends.
Did you enjoy what you found here at Jessie At Home? Then sign up for my newsletter and like my Facebook page, so you’ll get all the updates on new tutorials, other posts, sales, and coming events.
If you have any questions, want to share pictures of your work, or just want to chat with Jessie and other crafty individuals, than join one of our free Zoom Sit & Stitches. Find them on our Events Calendar.

© Copyright 2020 Jessie Rayot / Jessie At Home®, LLC All my videos, patterns, charts, photos and posts are my own work, so you may not copy them in any way. If you want to share this information with someone, then share the link to this post.


I used your bottle painting method, and accidentally dripped on my counter. I quickly finished, washed my hands that also got Greener Shades Dye on them, and was amazed that most of the dye came off them! I then used some of the Dawn Foam that I had used on my hands to wash my counter, and the dye came off there too!
I’m so glad it came off! It seems like no matter how hard we try to not make a mess, dye or paint always gets somewhere! 🙂