Stitchopedia Tutorial
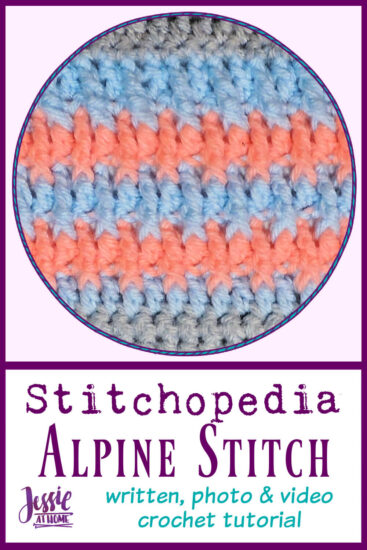
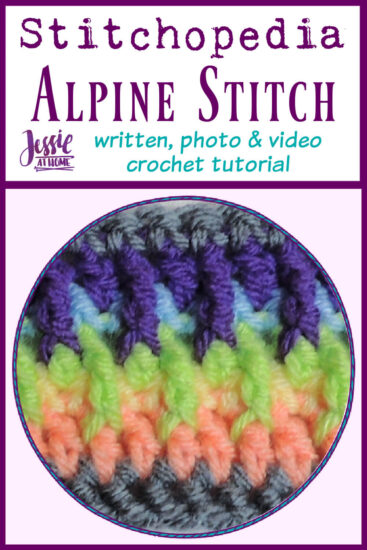
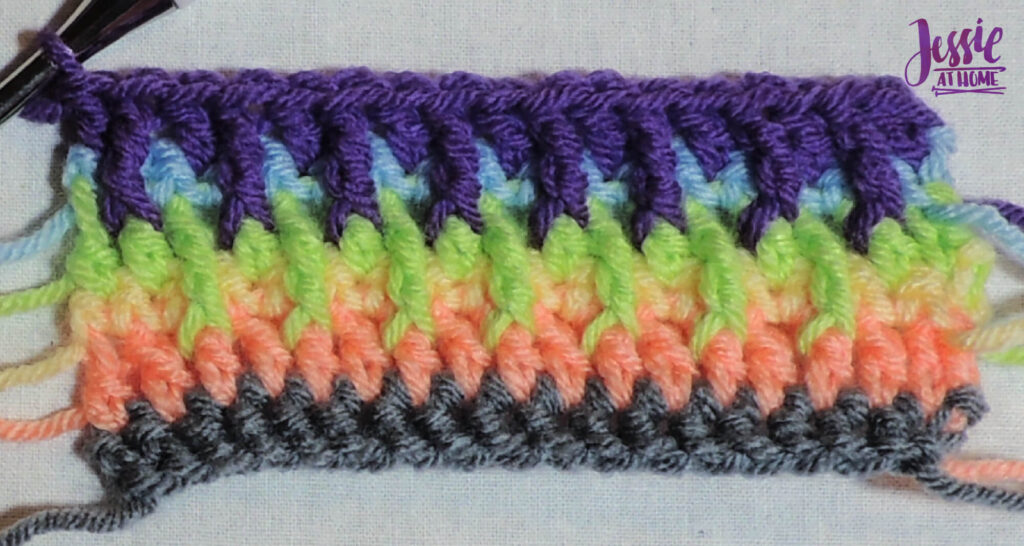
The Alpine Stitch is beautifully textured with post stitches and creates a solid, warm fabric that even looks great in a solid color.
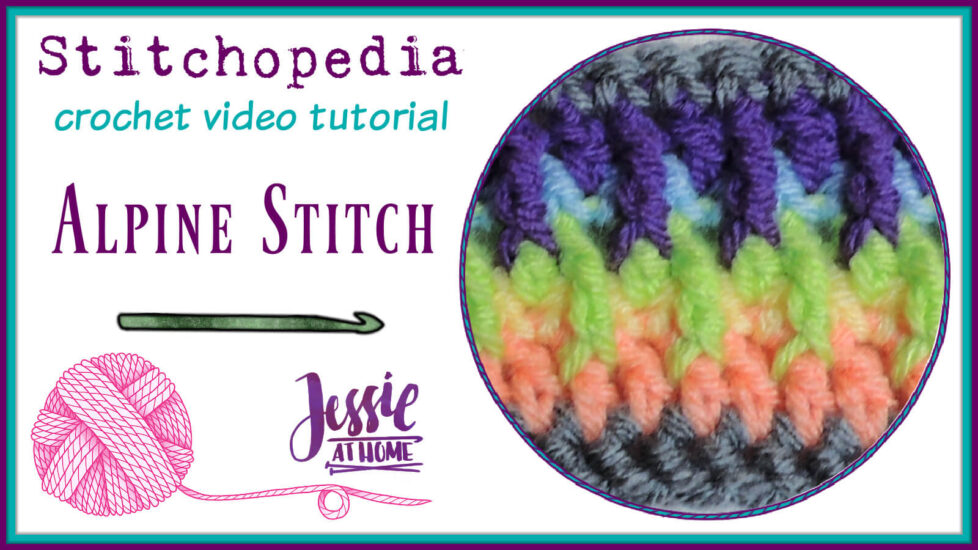
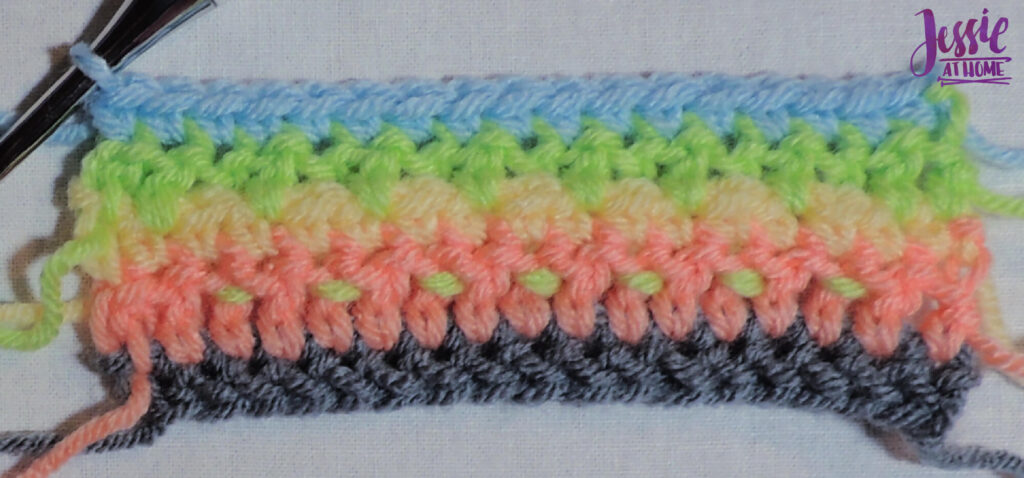
Not only does the Alpine Stitch look great in a solid color, but it’s also quite cool changing colors every 2 rows. For this tutorial I’ve changed color every row. When I used this stitch in Section 4 of the Suzie’s Stiped Sampler Blanket CAL, I changed colors every other row.
Alpine Stitch Video Tutorial
If you can’t see this video, try watching it on YouTube HERE.
Supplies in this Video
Stitches and Abbreviations: click on highlighted sts for tutorials
ch – chain
dc – double crochet
dch2 – double chain 2
fptr – front post treble crochet
fsc – foundation single crochet
rs – right side
sc – single crochet
st(s) – stitch(es)
ws – wrong side
yo – yarn over
[ ] – work step in brackets number of times indicated
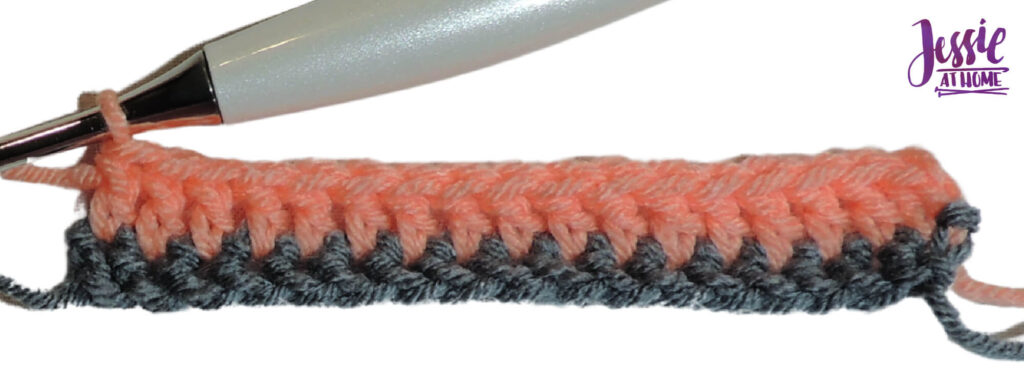
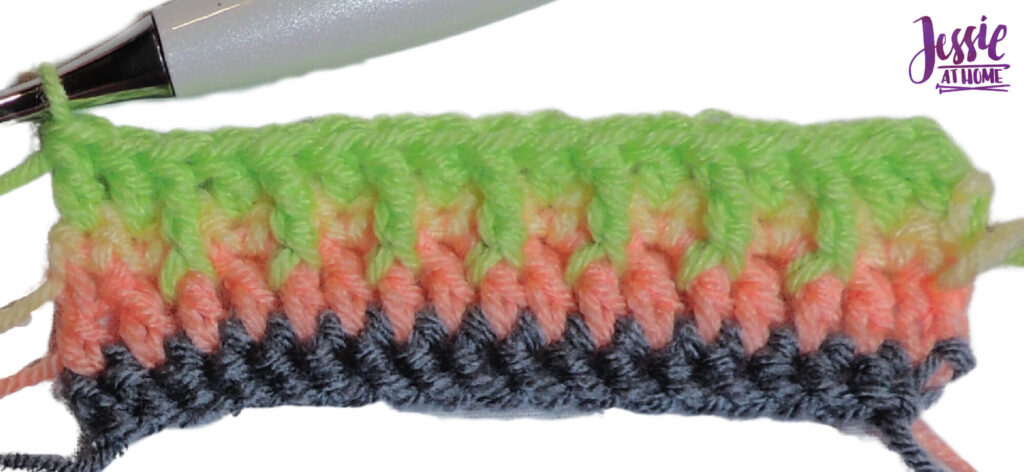
Alpine Stitch Written Instructions with Photos
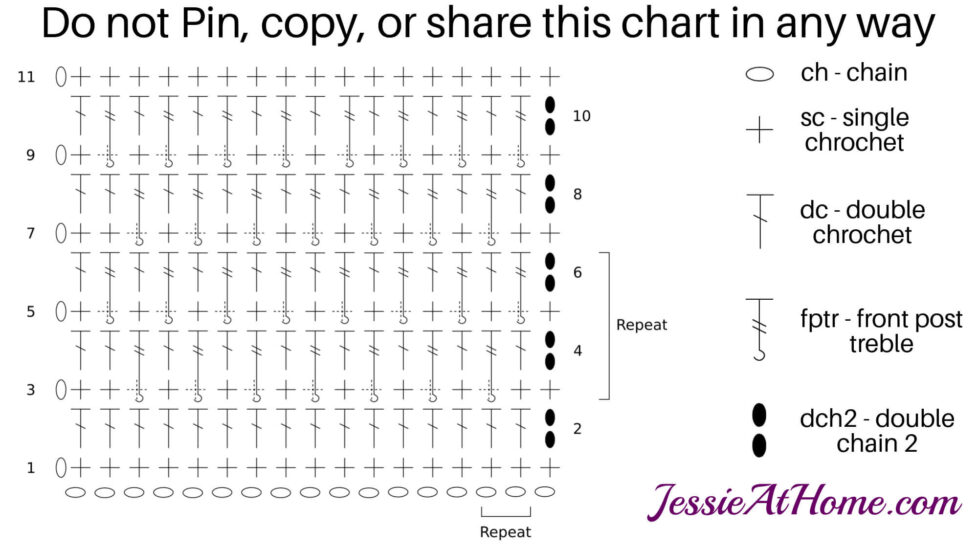
The Alpine Stitch is worked over an odd number of stitches. For the video and chart in this tutorial I started with a base of 16 single crochet. The stitch pattern begins with row 2. I’ve also included a finishing row to end your swatch with a row of single crochet. The first and last rows of single crochet are simply to neaten up the top and bottom of your swatch if you want to keep it for future reference. I like to staple mine to an index card with the name of the pattern on it.
Row 1 (WS): FSC an odd number of stitches.
-or-
Ch an even number, turn, sc in second ch from hook and in each ch across.
Row 2 (RS): Turn, dch2 in first st, dc in each st across.
Row 3: Ch 1, turn, sc in first st and in each st across.
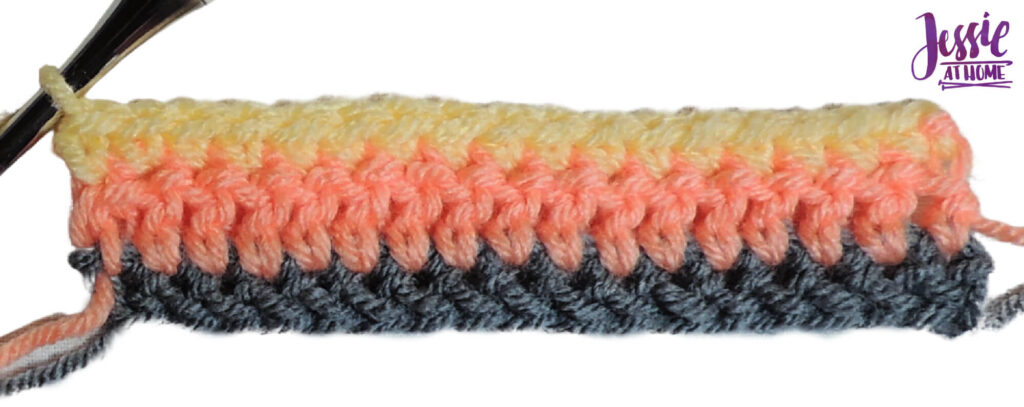
Row 4: Turn, dch2 in first st, dc in next sc, [leaving next st in current row unworked, fptr around dc below next sc, dc in next sc on current row] until 1 st remains, dc in last sc.
Row 5: Ch 1, turn, sc in first st and in each st across.
Row 6: Turn, dch2 in first st, [leaving next st in current row unworked, fptr around dc below next sc, dc in next sc on current row] to end.
Repeat Rows 3-6 to desired size, ending with a repeat of Row 3 or 5.
Finishing Row: Ch 1, turn, sc in first st and in each st across to last ch-3 sp, sc in last ch-3 sp.
Alpine Stitch Chart
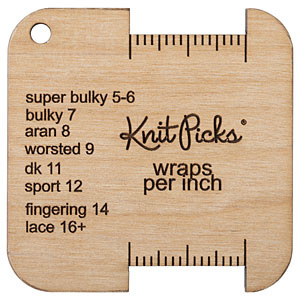
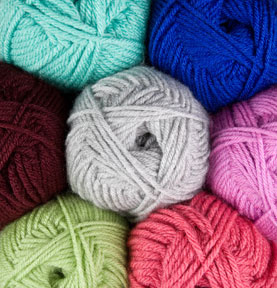
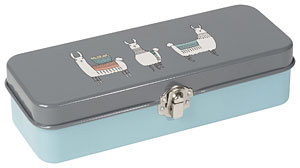
Here are some supplies you may find useful.
Happy stitching my friends.
Did you enjoy what you found here at Jessie At Home? Then sign up for my newsletter and like my Facebook page, so you’ll get all the updates on new tutorials, other posts, sales, and coming events.
If you have any questions, want to share pictures of your work, or just want to chat with Jessie and other crafty individuals, than join one of our free Zoom Sit & Stitches. Find them on our Events Calendar.

© Copyright 2021 Jessie Rayot / Jessie At Home®, LLC All my videos, patterns, charts, photos and posts are my own work, so you may not copy them in any way. If you want to share this information with someone, then share the link to this post.