


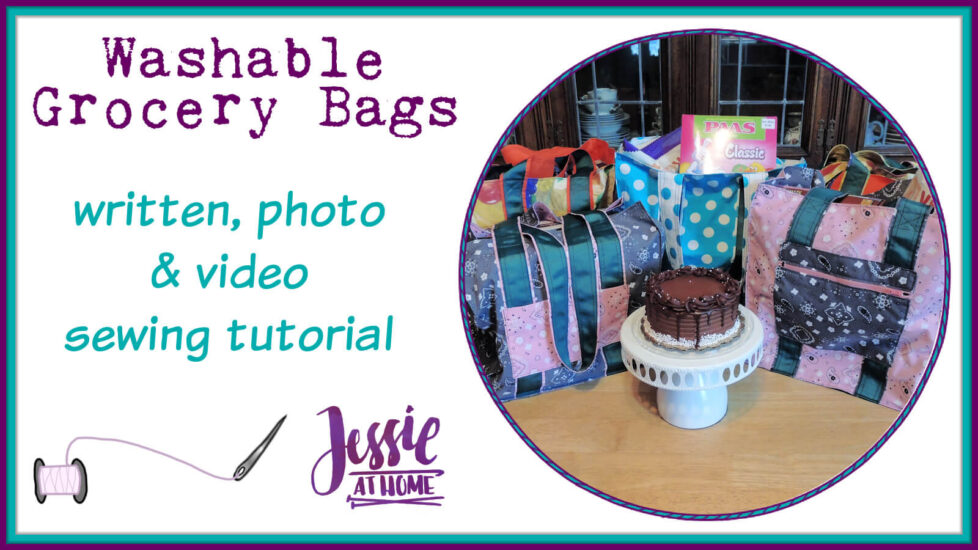
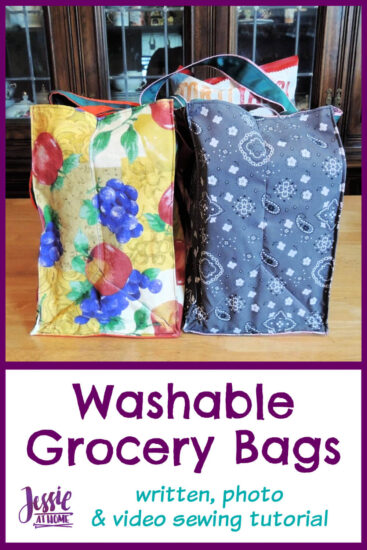
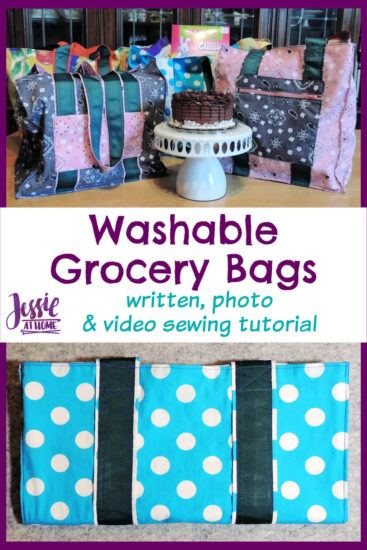
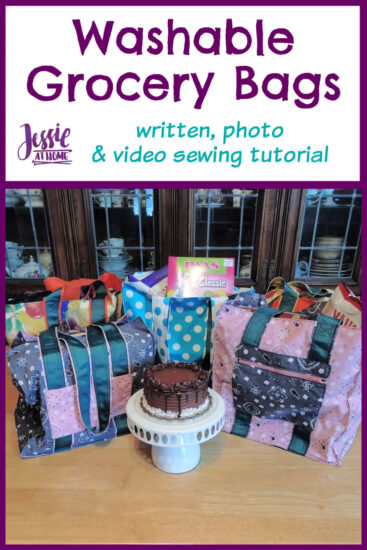
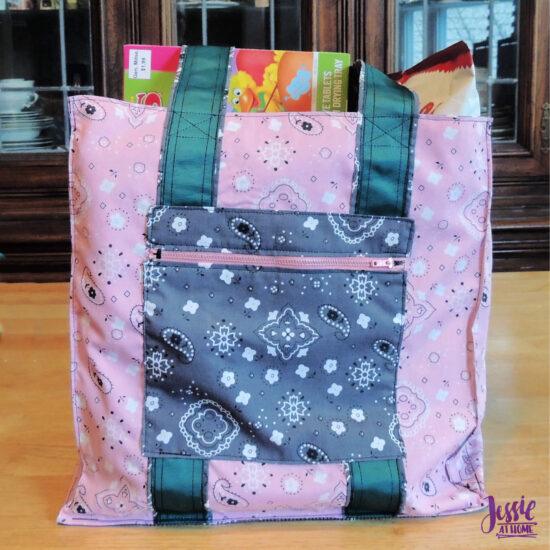
Washable grocery bags are stylish and ecologically sound. Now you can make your own with this awesome sewing tutorial!
Products used in this tutorial were supplied by Fabric Wholesale Direct and Cricut. All opinions are my own.
In just over a year, single use plastics will be banned in New Jersey. We’ve always worked to be ecologically sound, and have been using the store-bought reusable grocery bags for many years. However, they don’t last long, and they’re not washable. So, when Fabric Wholesale Direct contacted me about trying out their fabric, I knew exactly what to make!
When I went to the FWD site, I was super impressed with the selection. Oh my goodness, the variety of fabrics. Even just looking at the cotton and poly broadcloth, the selection was huge. I had such a hard time choosing just three combinations. Plus, now I have like a million ideas of things to sew!
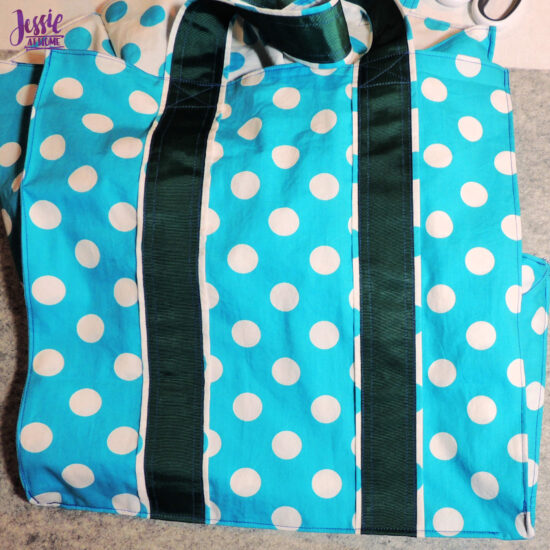
These washable grocery bags are made so that they fold down easily, just like the kind for sale in the grocery store. Unlike the kind in the grocery store, these bags will last a very long time.
I’ve also included instructions on how to add two different kinds of pockets to the bags. I don’t know about you, but I like not having to bring my purse in to the grocery store. Now I can toss my phone, debit card, and license in the zipper pocket and I’m good to go! You can even keep an extra mask in there in case you forget one.
Supplies
- Cut List PDF HERE
- Main Fabric: 1/2 yd of 54″ wide or 2/3 yd of 45-53″ wide cotton or other washable fabric
- Contrast Fabric: 3/4 yd of 54″ wide or 1 yd of 45-53″ wide cotton or other washable fabric
- 1/3 yd Canvas (will be enough for 3 bags)
- 3 yds 1 1/2″ wide grosgrain ribbon
- Sewing Kit – I used the Cricut Sewing Kit
- Washable Fabric Pencils
- Sewing Machine
- Thread (about 1 spool per bag)
- Iron
- Ironing Surface
Optional Pocket Supplies
- 1/3 yd of Contrast Fabric
- 8″ Zipper for zipper pocket only
- Zipper Foot for zipper pocket only
Video: Getting Started, Bag Bottom Reinforcement & Strap
If you can’t see this video, try watching it on YouTube HERE.
Getting Started
Before starting, prewash and dry all your fabric and ribbon twice, in the same manner as you will wash and dry your finished bag. Be sure to fold over and stitch the ends of the ribbon so it doesn’t fray. If you are washing more than 3 yards of ribbon, you may want to put the ribbon in a mesh bag so it doesn’t tangle around anything.
Iron all your fabric and ribbon. Be aware that the ribbon often needs a lower temperature on the iron than the fabric.
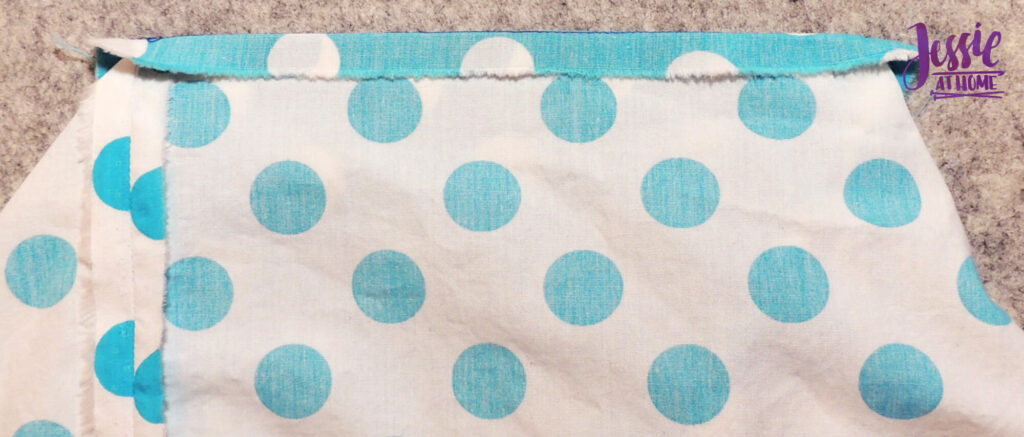
Cut and mark all pieces of fabric. It’s not necessary to cut the ribbon yet. If you are confused on the marking, see the video.
All seams use a 1/2″ seam allowance unless otherwise specified.
Washable Grocery Bag Bottom Reinforcement & Strap
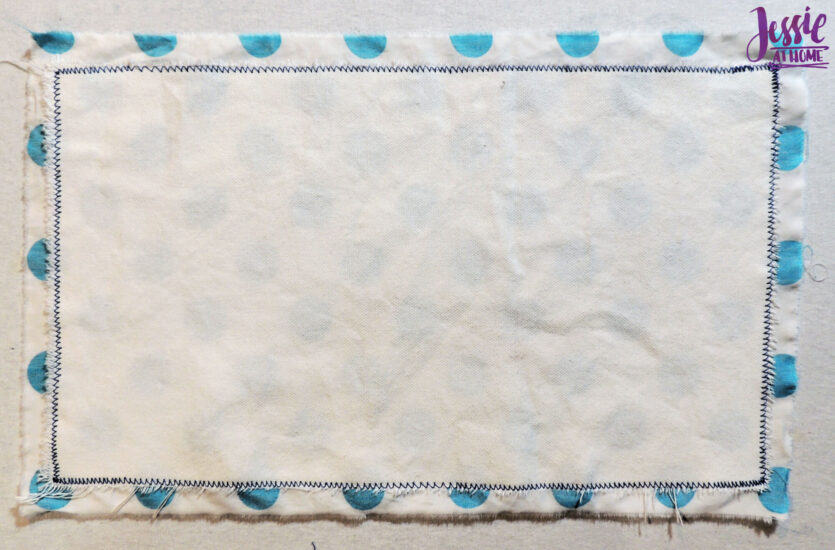
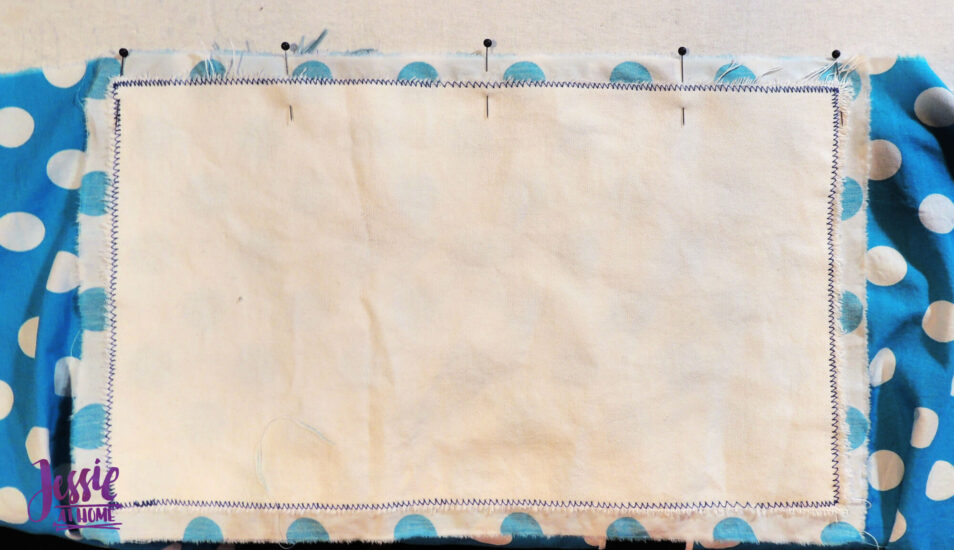
Lay Contrast Bag Bottom right side down. Place Bottom Lining (Canvas) centered on top. Pin together.

Zig zag stitch around the edge of the Bottom Lining. Use a 1/8-1/4″ wide zig zag.
Place Straps wrong side down on ironing surface. Fold one long side in to center and press. It does not have to be the exact center, you can eyeball it.
Fold the other long end in so it touches the first. They need to just touch. If they are separated or overlapping the strap will be too wide or narrow. The finished width should be 1 3/4″.
Place Ribbon over the strap so it covers the folded in edges. Center the Ribbon and pin it down. Cut the Ribbon at the end of the Straps.
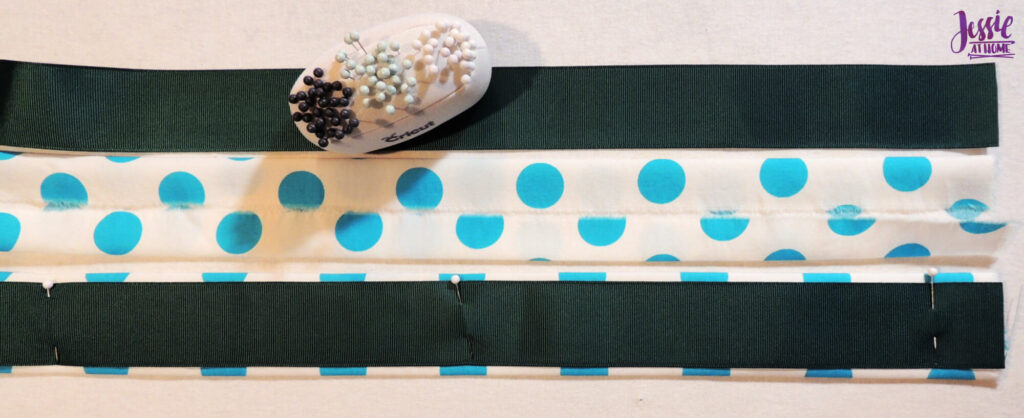
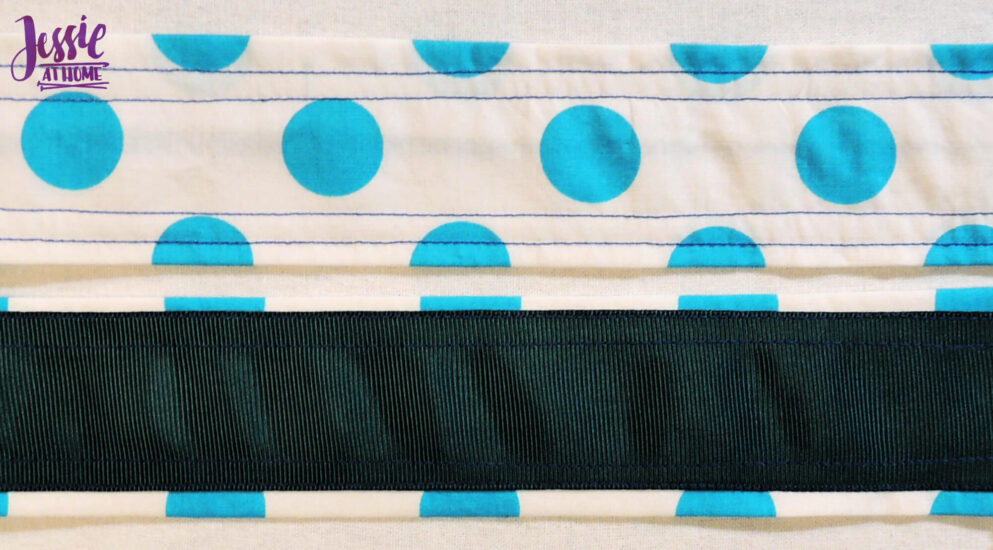
Sew together 1/4″ in from each long edge of Ribbon. Press from Fabric side.
Sew again close to edge of Ribbon. Press from Fabric side.
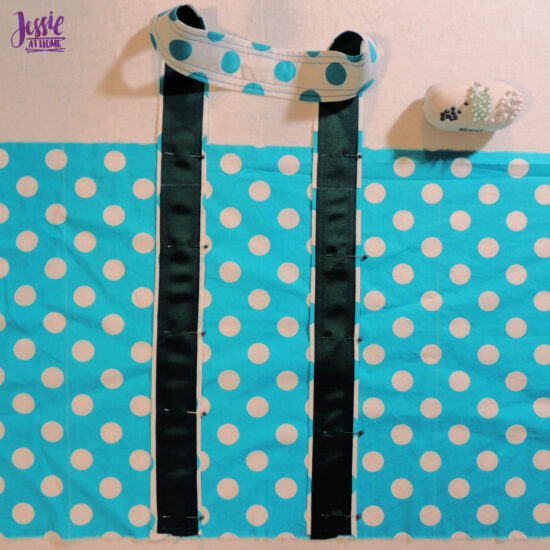
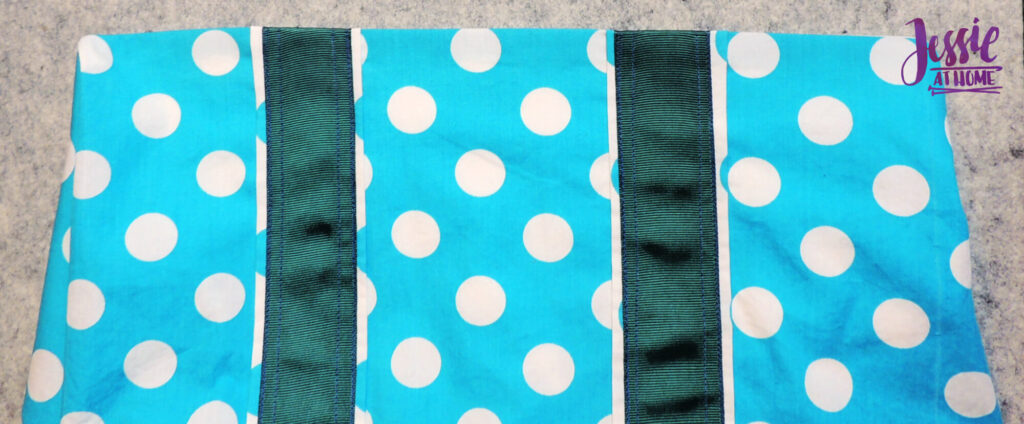
Look at Cut List to see shaded area where Straps attach. Pin Straps to Main fabric Bag Body as seen below, marking them 1 1/2″ below the top of the bag. Stitch from the bottom of the Bag Body up the edge of the Ribbon, across the mark just made, and back down the other edge of the Ribbon.
Repeat for second Strap.
Video: Optional Pockets
If you can’t see this video, try watching it on YouTube HERE.
Shallow Pocket
Fold pocket in half right sides together along dotted line on Cut List. Sew around 3 cut edges leaving a 2″ opening.
Clip corners and turn bag right side out. Press, keeping the 1/2″ seam folded in at the opening.
Place pocket in desired position on Bag Body. Place the folded edge as the top. Stitch pocket onto the Bag Body close to edge along sides and bottom. Stitch a small triangle at tops of sides to reinforce the pocket.
Zipper Pocket
Fold 9″ sides of both Pocket pieces in towards wrong side of fabric 1/2″, press.
Unfold edges just pressed and fold both pieces in half right sides together along dotted lines in Cut List. Pin sides, leaving the 9″ edges open. Sew both sides of both pieces with 1/2″ seam allowance.
Flip Pocket pieces right side out. Fold top edges inside along pre-pressed folds, press.
Slip Pocket Top over one side of zipper, so folded edges are just above the edge of the zipper. Sew close to edge of fabric.
Repeat last step to sew Pocket Bottom to other side of zipper.
Place pocket in desired position on Bag Body. Stitch pocket onto the Bag Body close to edge along all four sides.
Video: Seaming and Finishing
If you can’t see this video, try watching it on YouTube HERE.
Seaming Washable Grocery Bag
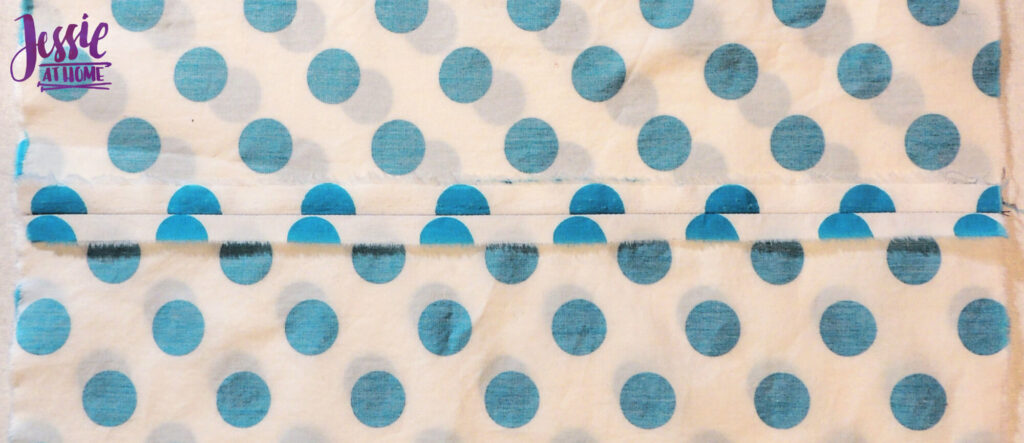
Fold both Bag Body pieces right sides together and seam along short ends. Press seam open.
Pin Contrast Bag Bottom to Main Bag Body, matching marks. Seam together. Clip corners of Bag Bottom only. For help with this step, see video.
Repeat last step with Main Bag Bottom and Contrast Bag Body.

Turn Main Bag Body section right side out. Fold and press all four sides at seam of Body and Bottom. Be careful not to burn or melt the ribbon.
On Contrast Bag Body section, fold and press seams of Body and Bottom join up against Body along stitching line.
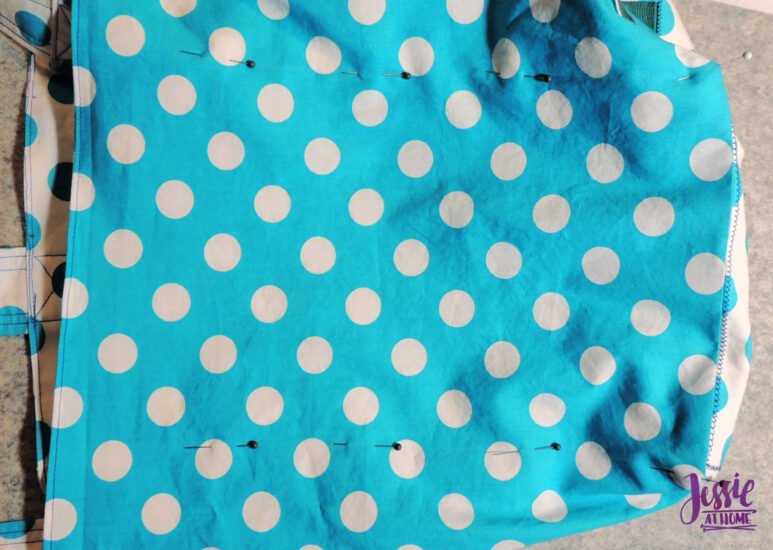
Place Main Bag Body section inside Contrast Bag Body section, right sides together. Put side seams on opposite sides. Pin tops together matching marks. Sew around top leaving a 4″ opening on one of the short sides.
Finishing Washable Grocery Bag
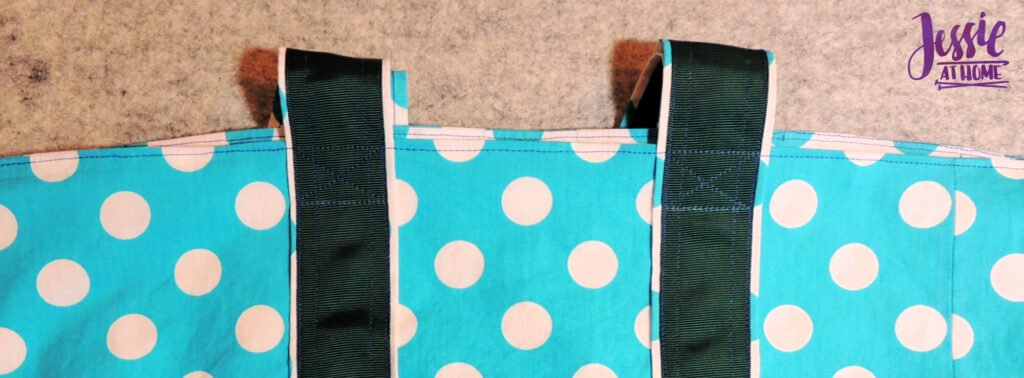
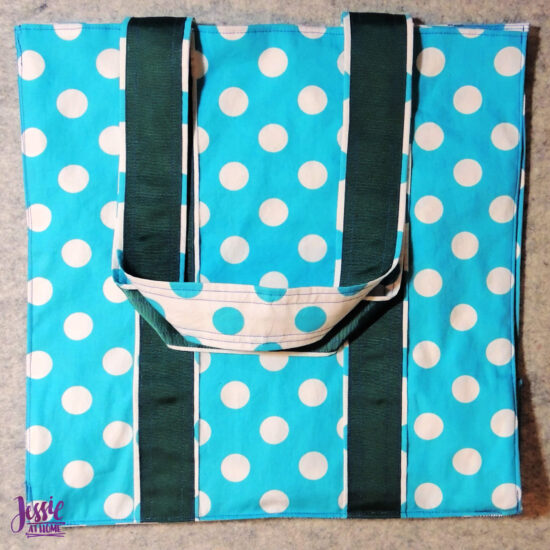
Flip bag right side out through opening. Push Contrast Body section inside Main Body section. Press top making sure seam isn’t pushed in. Top stitch 1/8″ down from top edge, sewing over straps and making an “x” over the the straps as seen below.
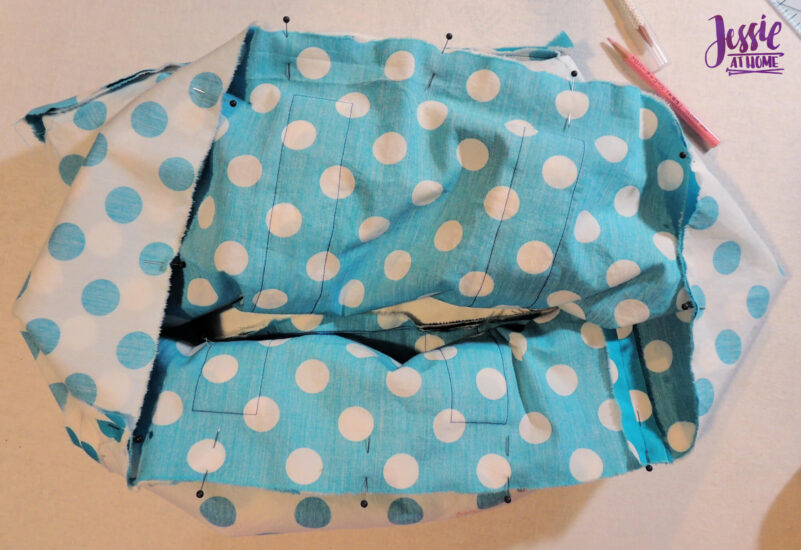
Pin Main and Contrast fabrics together along lines on four corners between sides and front/back. Pin the “Y” shaped lines in the center of each side as well.
Top stitch along lines just pinned together. Take care not to catch any other parts under foot while sewing.

Fold and press Body on top of Bottom at seams. Top stitch 1/8″ from fold.
Fold and press Body along stitching lines on four corners between sides and front/back. Top stitch 1/8″ from fold.
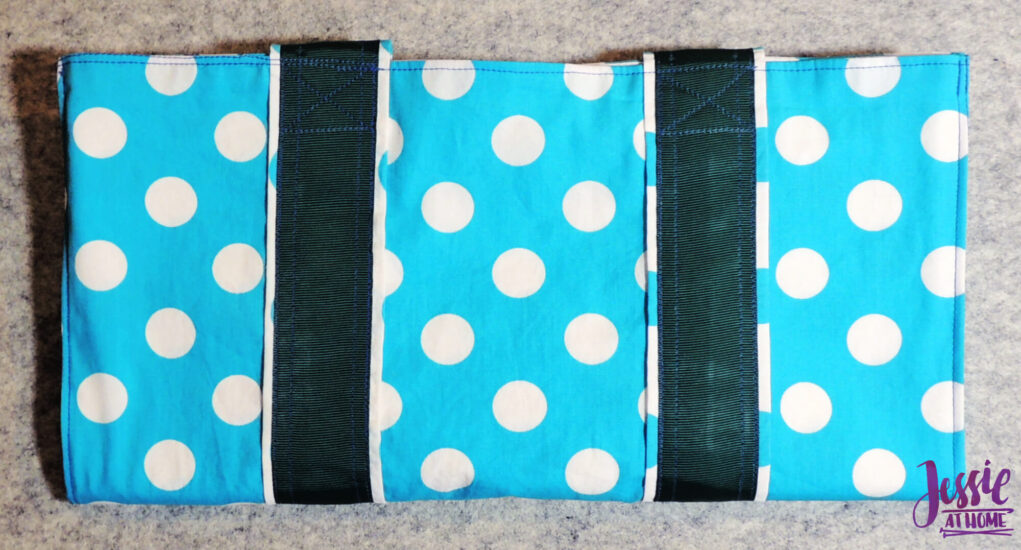
Fold bag along top stitched lines so it lays flat as seen below. This is shown in the video if you need some help.
Fold in half and stack your bags if you’ve made more than one.
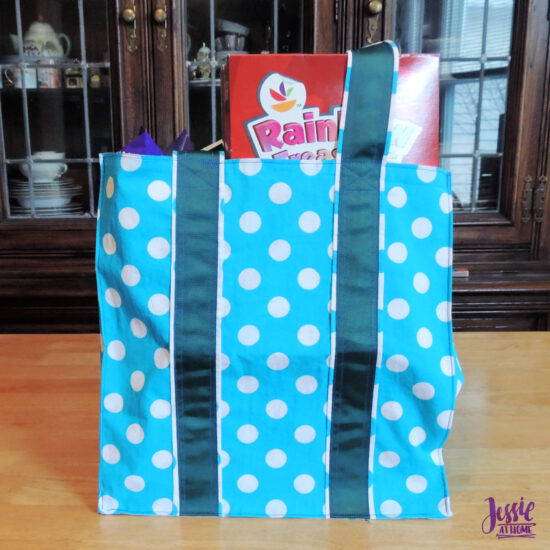
All done, time to go grocery shopping! Woo Hoo!!!
I was super happy with the fabric from Fabric Wholesale Direct. It’s lovely and sturdy and there are so many beautiful options.
Happy crafting my friends!
If you are going to make this creation, then get some supplies from these affiliate links. You pay the same price, and I get a small referral fee.
Did you enjoy what you found here at Jessie At Home? Then sign up for my newsletter and like my Facebook page, so you’ll get all the updates on new tutorials, other posts, sales, and coming events.
If you have any questions, want to share pictures of your work, or just want to chat with Jessie and other crafty individuals, than join one of our free Zoom Sit & Stitches. Find them on our Events Calendar.

© Copyright 2021 Jessie Rayot / Jessie At Home®, LLC All my videos, patterns, charts, photos and posts are my own work, so you may not copy them in any way. If you want to share this information with someone, then share the link to this post.


Cannot find material cutting info on post please help
I just clicked on the “HERE” and the PDF came up, so I’m not sure why it doesn’t work for you.