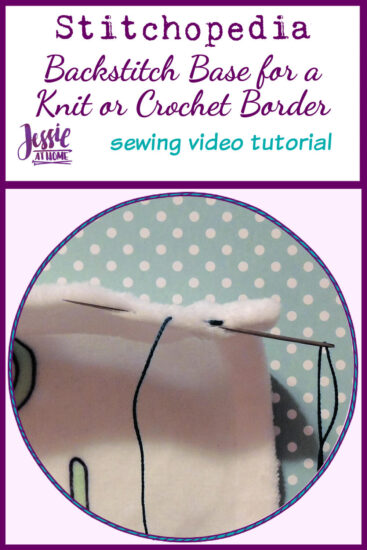
Stitchopedia Tutorial
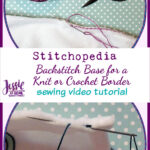
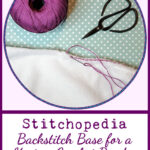
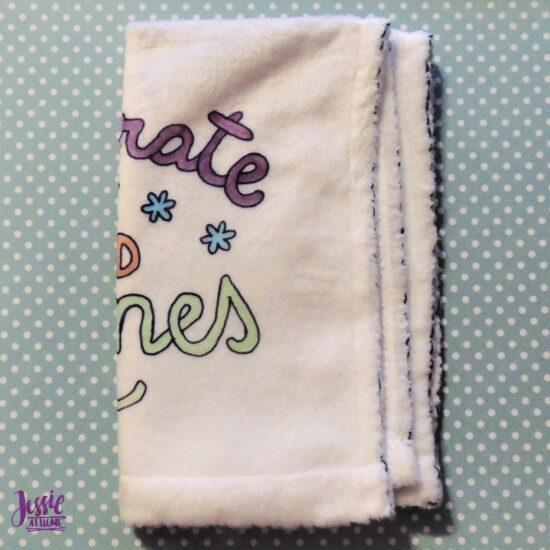
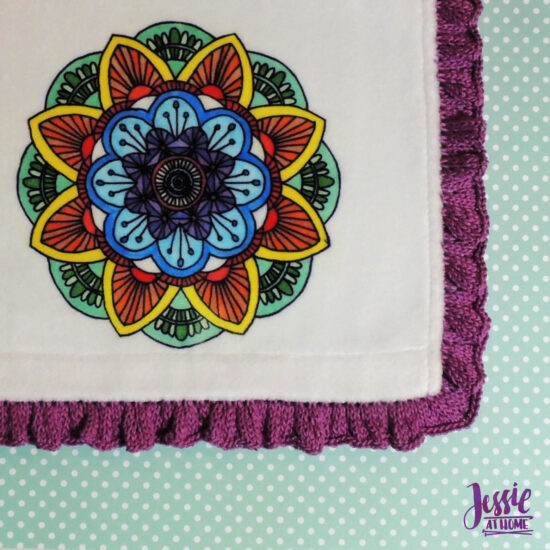
This backstitch base can be worked around towels, blankets, hems, and more to add on a knit or crochet border or trim.
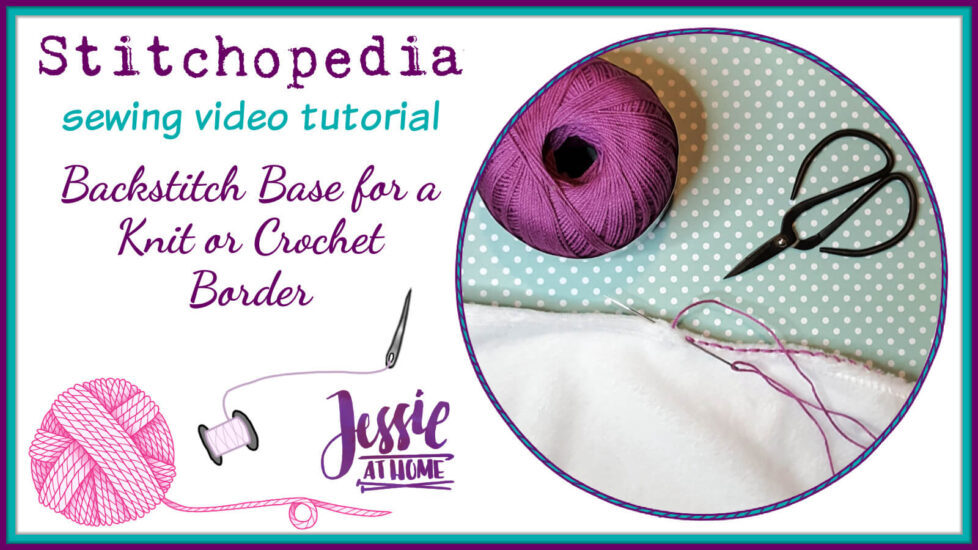
Use this technique to make loops on fabric that you can knit or crochet into. This really opens up so many possibilities. It’s a good idea to make the backstitch with crochet thread, even if you’re using a different yarn for the knit or crochet section.
Video
If you can’t see this video, try watching it on YouTube HERE.
Supplies used in video and photos
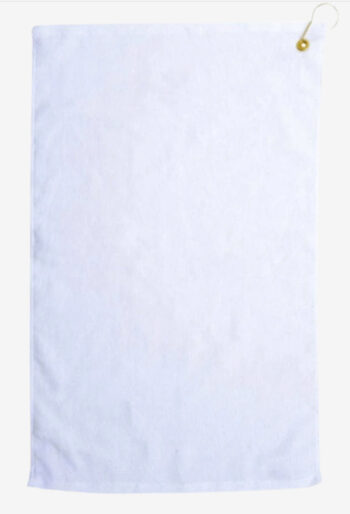
- Artesprix Towel Blank – Use code Jessie10 to get 10% off!
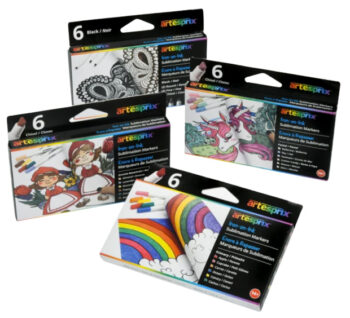
- Artesprix Sublimation Markers – Use code Jessie10 to get 10% off!
- Large Sharp Needle
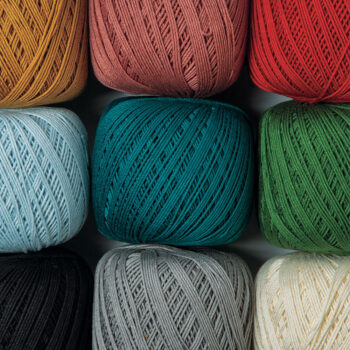
- Crochet Thread (Curio #3 or Curio #10)
Written instructions with photos
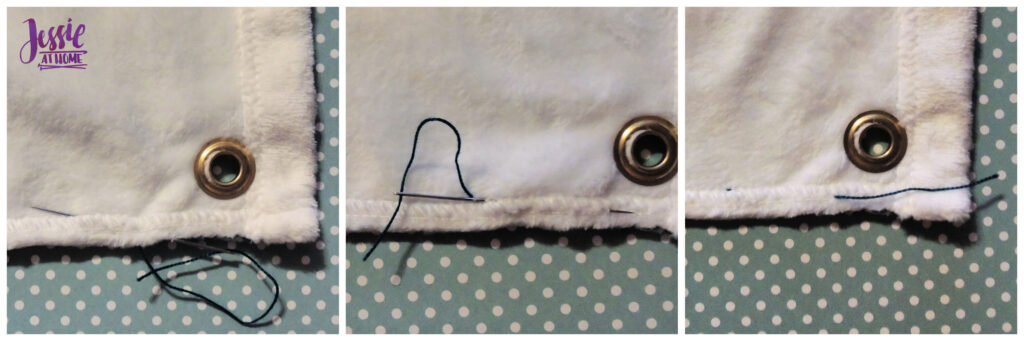
Thread up some crochet thread onto a sharp needle, and put a knot in the end. Slide the needle inside the hem and poke it through the edge of the hem. Pull thread, insert needle about 1/4″ behind where thread came out of hem, then bring it back out 1/4″ in front of where thread came out of hem. Pull thread to finish stitch, but don’t pull tight. First backstitch made.
Insert needle in end of stitch behind the thread coming out of hem, then bring it back out 1/4″ in front of the thread coming out of hem, pull thread to finish stitch, but don’t pull tight. Second backstitch made.
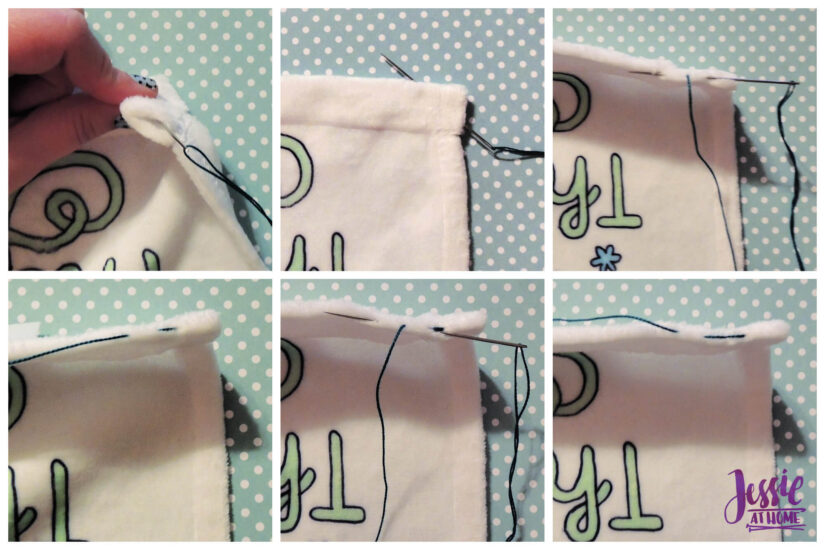
Keep on making backstitches until just 6 inches of thread remains. End off thread by inserting needle at end of last stitch, then bury the needle through the stitching in the hem. Bury needle back in the other direction and pull thread, then clip.
To start a new piece of thread, bury needle through hem stitching in one direction, pull until thread end is just inside hem then bury needle back the other direction and poke out 1/4″ in front of last stitch, pull through.
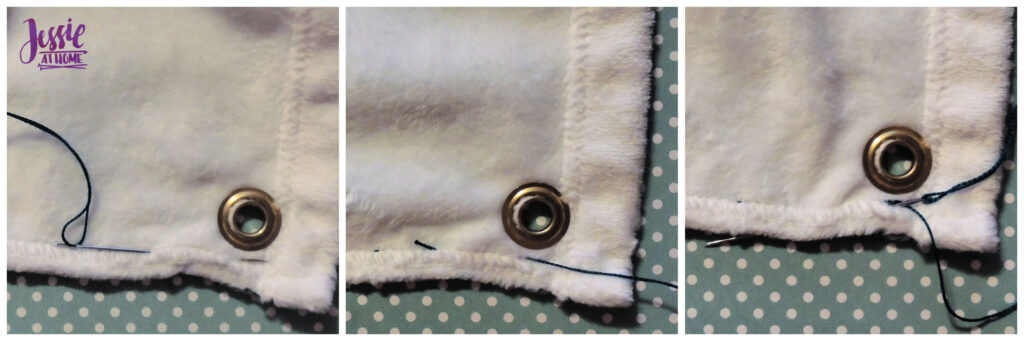
Make backstitch all the way around piece, taking care not to make stitches tight so you can fit your needle or hook through the stitches.
Now you’re ready to knit or crochet into the stitches!
Here are some supplies you may find useful.
Happy stitching my friends.
Did you enjoy what you found here at Jessie At Home? Then sign up for my newsletter and like my Facebook page, so you’ll get all the updates on new tutorials, other posts, sales, and coming events.
If you have any questions, want to share pictures of your work, or just want to chat with Jessie and other crafty individuals, than join one of our free Zoom Sit & Stitches. Find them on our Events Calendar.

© Copyright 2021 Jessie Rayot / Jessie At Home®, LLC All my videos, patterns, charts, photos and posts are my own work, so you may not copy them in any way. If you want to share this information with someone, then share the link to this post.