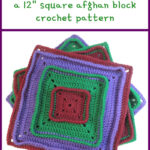
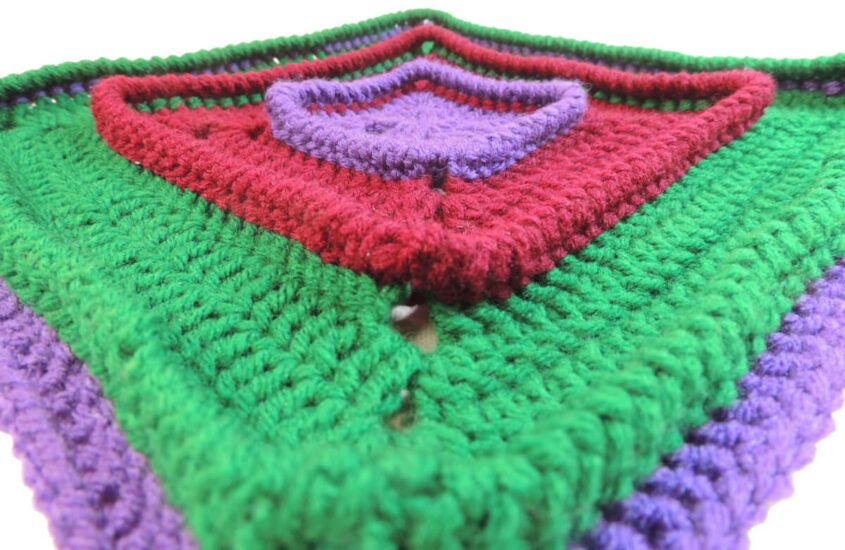
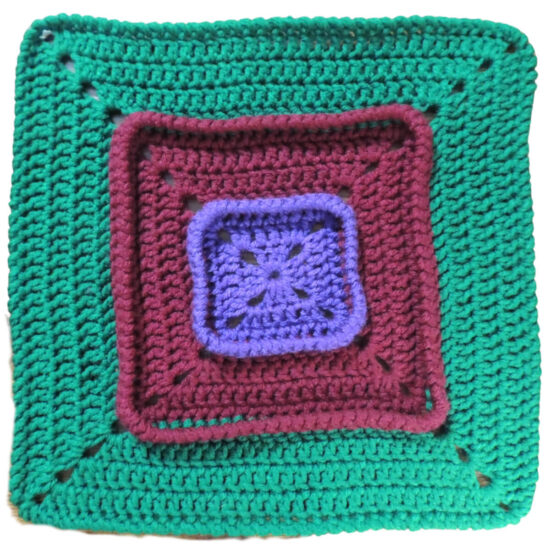
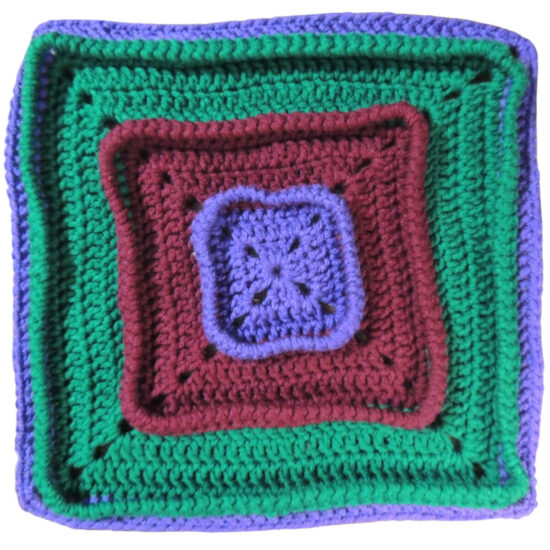
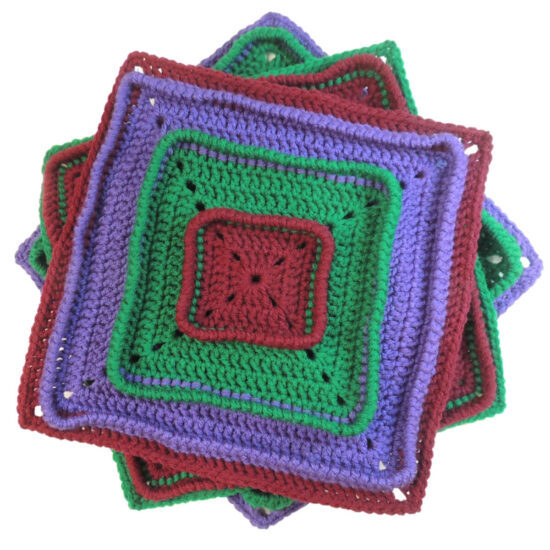
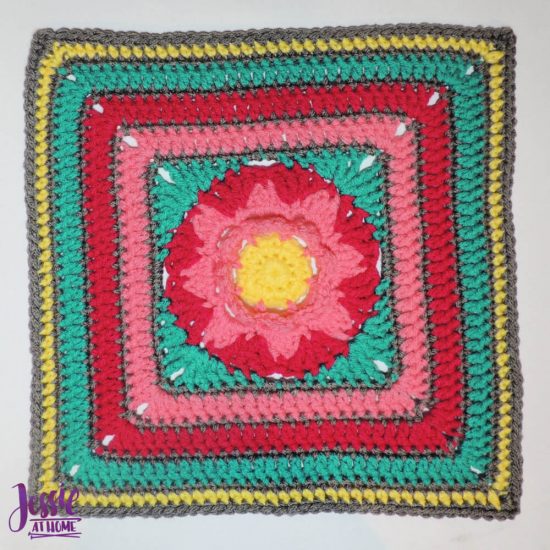
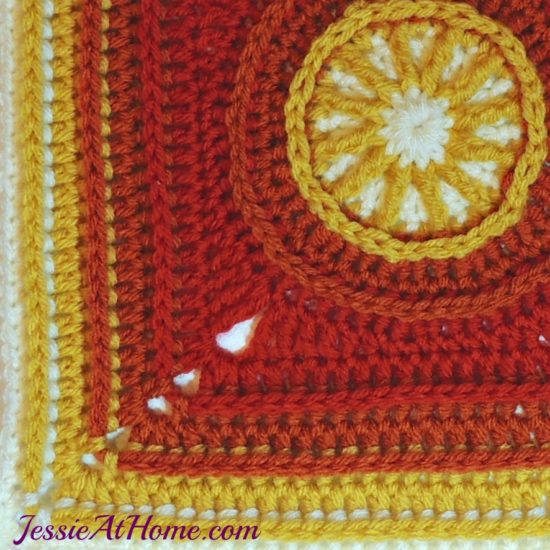
This dimensional square free crochet pattern will teach you how to create your own Layered Cake Square for an afghan, blanket, bag, or other project.


The Layered Cake Square is the first square of the 2022 Moogly Afghan CAL. You can find the Moogly post HERE. I love being a part of this CAL every year, thank you to all of you who make one!
There are video tutorials to go with this pattern posted with the pattern below. You’ll find both a right and left handed video for the first layer, then a right and left handed video for the remainder of the square.
Get the printable PDF of this pattern from the link below.
Layered Cake Square
A Dimensional Square Free Crochet Pattern
Intermediate Skill Level
Designed by Jessie Rayot
Supplies
Size
12” x 12”
Yarn
Red Heart With Love: (100% Acrylic), Size 4 – Medium/Worsted/Aran, (10 wpi), 370 yds / 198 g, (1.87 yds/g)
(187 yds / 100 g) total used to make 1 square
Crochet Hook
6.0 mm (US J/10)
Furls Alpha Series Hook used for sample and in video.
Gauge
Learn about gauge HERE
16 sts x 9 rows = 4” in dc
Other supplies
Stitches and Abbreviations
click on underlined sts for tutorials
bpdc – back post double crochet
ch – chain
dc – double crochet
dch2 – double chain 2
rnd – round
sc – single crochet
sl st – slip stitch
sp(s) – space(s)
st(s) – stitch(es)
( ) – work step in parentheses in indicated stitch
[ ] – work step in brackets number of times indicated
Special Stitches
Twisted Single Crochet (tsc): Insert hook into st, yo, pull up a loop (2 loops on hook), twist hook away from yourself in a full circle causing the loops to twist around each other (for a right-handed crocheter this will be counter-clockwise, and for a left-handed crocheter this will be clockwise), yo, pull through both loops.
If you find it is too hard to pull through the last time, then make sure to slightly pull up your hook just before twisting to loosen the stitch.
Pattern Notes
- Read through all instructions before beginning.
- Rnd counts are at the end of each Rnd after the period, if the count has changed from the previous Rnd. {count here}
- Chs and sl sts are not included in Rnd counts unless specified.
- Ch 5’s at the start of rnds can be replaced with dch 2, ch 2, still counting as the first dc and ch 2. Join rnd by placing sl st in the top of the dch 2.
Dimensional Square Free Crochet Pattern
Layer 1 Video Tutorial – Right Handed
If you can’t see this video, try watching it on YouTube HERE.
Layer 1 Video Tutorial – Left Handed
If you can’t see this video, try watching it on YouTube HERE.
Layer 1
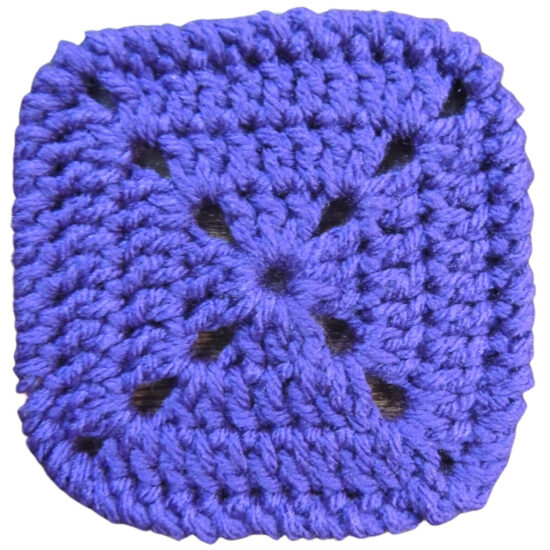
Rnd 1: With Color A, ch 4, sl st in first ch made to form a ring, ch 5 (counts as first dc and ch 2 here and throughout), [4 dc in ring, ch 2] 3 times, 3 dc in ring, sl st in 3rd ch of beginning ch 5, sl st in ch-2 sp. {4 dc on each side}
Rnd 2: Ch 5, 2 dc in same ch-2 sp, [dc in each st across to next ch-2 corner, (2 dc, ch 2, 2 dc) in ch-2 corner] 3 times, dc in each st across to next ch-2 sp, dc in ch-2 sp, sl st in 3rd ch of beginning ch 5, sl st in ch-sp. {8 dc on each side}
Rnd 3: Repeat Rnd 2. {12 dc on each side}
Rnd 4: Ch 1, tsc in same ch-2 sp [tsc in each st across to next ch-2 corner, 2 tsc in ch-2 corner] 3 times, tsc in each st across to next ch-2 sp, tsc in ch-2 sp, sl st in first tsc of round. {14 tsc on each side}
Fasten off and weave in ends.
Layers 2-4 Video Tutorial – Right Handed
If you can’t see this video, try watching it on YouTube HERE.
Layers 2-4 Video Tutorial – Left Handed
If you can’t see this video, try watching it on YouTube HERE.
Layer 2
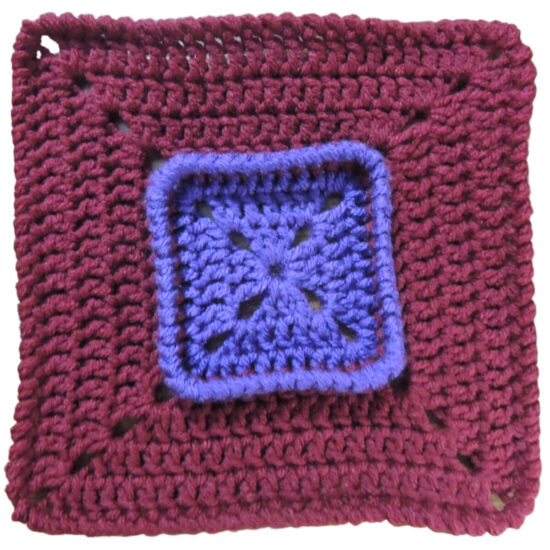
Rnd 5: Place Color B on hook with a slip knot, sl st around post of last dc before a ch-2 corner in Rnd 3, ch 5, [bpdc around each st across to next ch-2 sp, ch 2] 3 times, bpdc around each st across to one st before next ch-2 sp, sl st in 3rd ch of beginning ch 5, sl st in ch-2 sp. {12 sts on each side}
Rnd 6: Ch 5, 2 dc in same ch-2 sp, [dc in each st across to next ch-2 corner, (2 dc, ch 2, 2 dc) in ch-2 corner] 3 times, dc in each st across to next ch-2 sp, dc in ch-2 sp, sl st in 3rd ch of beginning ch 5, sl st in ch-sp. {16 dc on each side}
Rnd 7: Repeat Rnd 2. {20 dc on each side}
Rnd 8: Repeat Rnd 2. {24 dc on each side}
Rnd 9: Ch 1, tsc in same ch-2 sp [tsc in each st across to next ch-2 corner, 2 tsc in ch-2 corner] 3 times, tsc in each st across to next ch-2 sp, tsc in ch-2 sp, sl st in first tsc of round. {26 tsc on each side}
Fasten off and weave in ends.
Layer 3
Rnd 10: Place Color C on hook with a slip knot, sl st around post of last dc before a ch-2 corner in Rnd 8, ch 5, [bpdc around each st across to next ch-2 sp, ch 2] 3 times, bpdc around each st across to one st before next ch-2 sp, sl st in 3rd ch of beginning ch 5, sl st in ch-2 sp. {24 sts on each side}
Rnd 11: Ch 5, 2 dc in same ch-2 sp, [dc in each st across to next ch-2 corner, (2 dc, ch 2, 2 dc) in ch-2 corner] 3 times, dc in each st across to next ch-2 sp, dc in ch-2 sp, sl st in 3rd ch of beginning ch 5, sl st in ch-sp. {28 dc on each side}
Rnd 12: Repeat Rnd 2. {32 dc on each side}
Rnd 13: Repeat Rnd 2. {36 dc on each side}
Rnd 14: Ch 1, tsc in same ch-2 sp [tsc in each st across to next ch-2 corner, 2 tsc in ch-2 corner] 3 times, tsc in each st across to next ch-2 sp, tsc in ch-2 sp, sl st in first tsc of round. {38 tsc on each side}
Fasten off and weave in ends.
Layer 4
Rnd 15: Place Color A on hook with a slip knot, sl st around post of last dc before a ch-2 corner in Rnd 13, ch 5, [bpdc around each st across to next ch-2 sp, ch 2] 3 times, bpdc around each st across to one st before next ch-2 sp, sl st in 3rd ch of beginning ch 5, sl st in ch-2 sp. {36 sts on each side}
Rnd 16: Ch 3, sc in same ch-2 sp, [sc in each st across to next ch-2 corner, (sc, ch 2, sc) in ch-2 corner] 3 times, sc in each st across to next ch-2 sp, sc in ch-2 sp, sl st in beginning ch-3 sp. {38 sc on each side}
Fasten off and weave in ends.
Finishing
- Block piece to 12” square, making sure all layered sections are laying flat, not folded toward the center.
Happy Stitching!
Get the ad-free, printer-friendly PDF pattern from the link below.
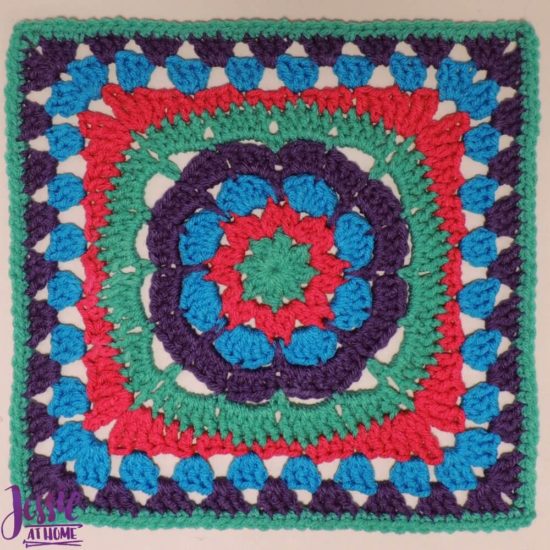
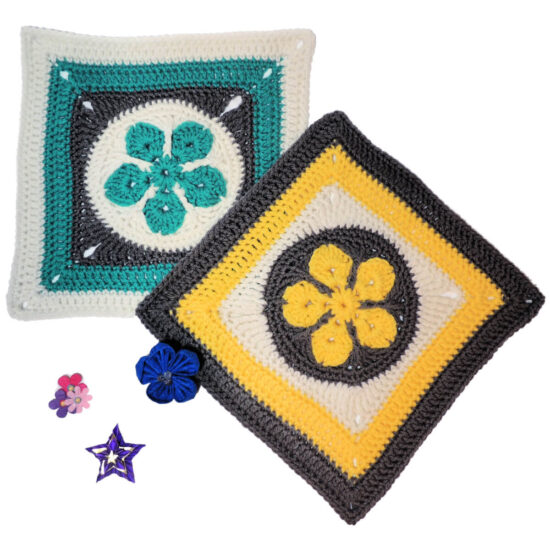
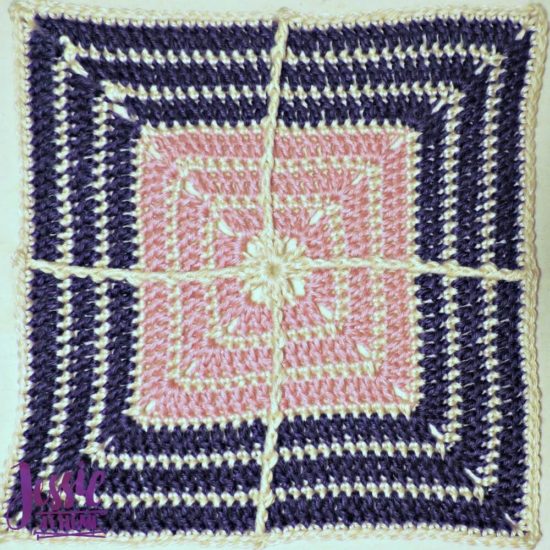
NEXT: Check out the squares I designed for previous Moogly CALs
Did you enjoy what you found here at Jessie At Home? Then sign up for my newsletter and like my Facebook page, so you’ll get all the updates on new tutorials, other posts, sales, and coming events.
If you have any questions, want to share pictures of your work, or just want to chat with Jessie and other crafty individuals, than join one of our free Zoom Sit & Stitches. Find them on our Events Calendar.

© Copyright 2022 Jessie Rayot / Jessie At Home®, LLC All my videos, patterns, charts, photos and posts are my own work, so you may not copy them in any way. If you want to share this information with someone, then share the link to this post.


