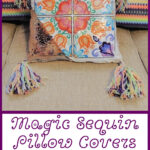
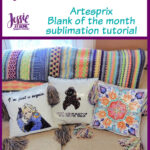
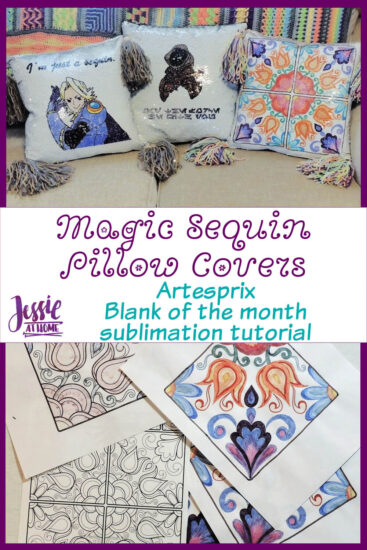
Magic Sequin Pillows are all the rage and now you can make your own image on them with the Artesprix Blank of the Month for April!
Some products in this tutorial were provided by Artesprix. All opinions are my own.
Knowing this would be a popular blank, Artesprix order 3 times as many of these sequin pillow cases as they normally order for blanks of the month. Well, just over 5 days into the month, they sold out. But don’t fret, more will be coming!
Make sure to order your cases ASAP in case they sell out again. Even if they don’t, this Blank of the Month is only available during April 2021, and will not repeat in 2021. So order all that you need right now HERE! Use code Jessie10 to get 10% off as well.
Now, let’s get to this tutorial
Magic Sequin Pillow Cover Supplies
- Sequin Pillow Case (BotM April 2021)
– This Blank of the Month is over, but you can find some similar blanks HERE. Read the listings to make sure they are what you need. - Sublimation Markers
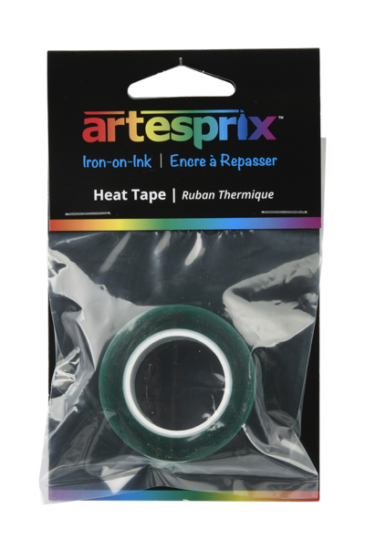
- Heat Tape
- Protective Paper (silicon)
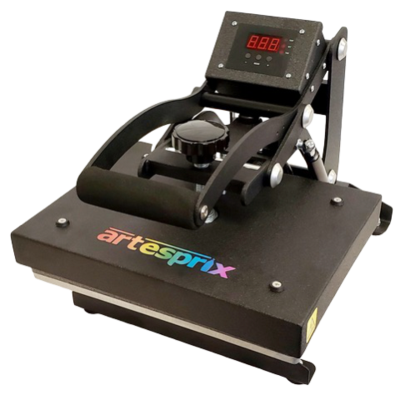
- EasyPress, Heat Press, Iron, or Similar
- Lint Roller
- Heat Safe Surface
- Image to color and sublimate (more on this later)
- Pillow Insert (find a tutorial HERE)
- Tassels *optional (find a tutorial HERE)
Sublimation Magic Sequin Pillow Cover Tutorial
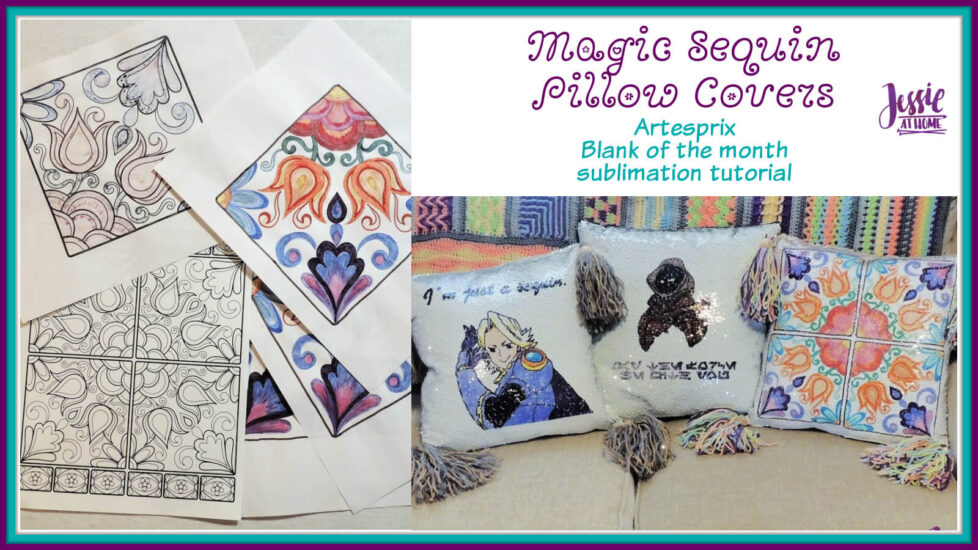
Begin by coloring your image in reverse on paper with Artesprix sublimation markers. The Magic Sequin Pillow Cases are 16″ square, so your image needs to fit in that size. The twins and I all used different techniques for each of our images.
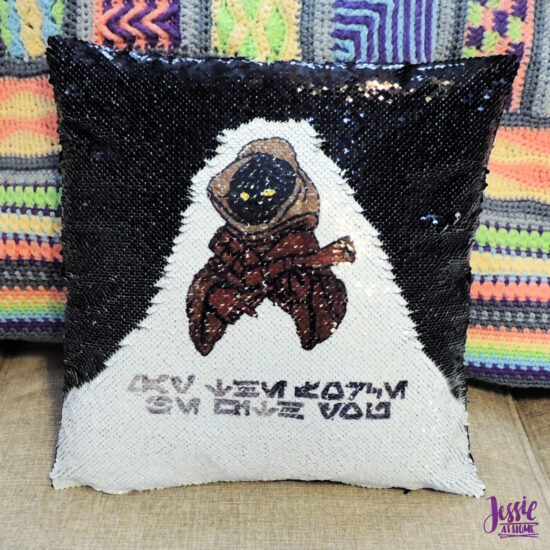
Vada’s Pillow
Vada wanted a Jawa on their pillow. They search “Jawa coloring pages free pintables” on their laptop and found an image they liked. We sized the image to Vada’s preference, and printed it out.
Next they found the phrase “May the force be with you” written in the Aurebesh alphabet – the alphabet seen most commonly throughout the Star Wars franchise. Once again we sized this to Vada’s specifications and printed it.
Vada then flipped both images over and used our Artesprix Sublimation Markers to color them in.
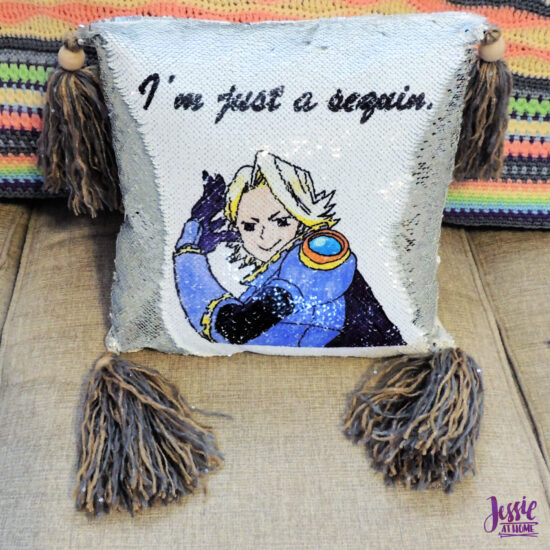
Kyla’s Pillow
Kyla has become quite smitten with the anime show My Hero Academia, and her favorite character is Yuga Aoyama. He’s quite sparkly and dramatic, just like Kyla. To make his image, Kyla found a drawing of him she liked and copied it to her drawing tablet. She was then able to trace over the drawing to get a basic line and shadow image she could use for coloring.
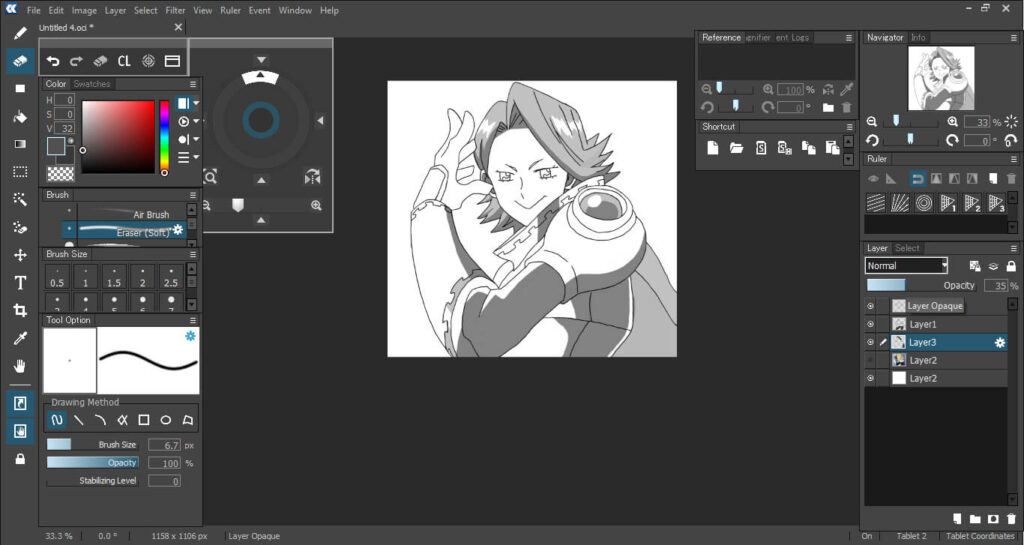
We sized the image for her magic sequin pillow cover and printed it out. Kyla also wanted some text, so we typed that into a word doc and set the orientation to landscape. Next we found a font she liked and sized it to her specs. Once more we hit print and were ready for color!
Kyla then colored the image and the text from the backs of the paper so they were backwards and ready for sublimation.
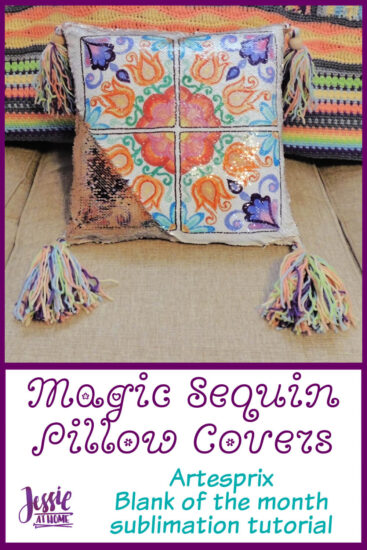
Jessie’s Pillow
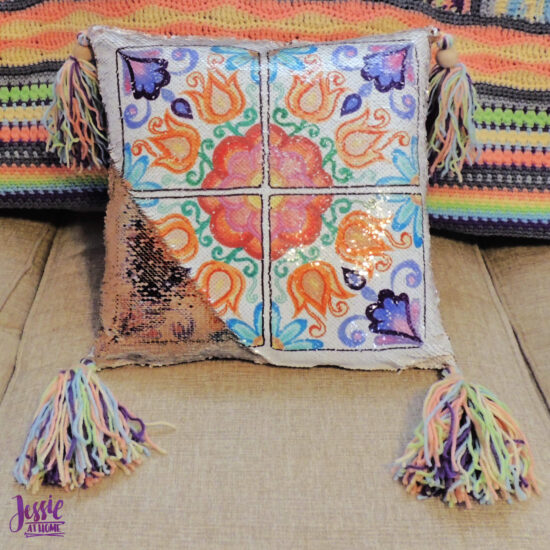
I flipped through my adult coloring books until I found an image I wanted to use. It was made of 4 identical squares, which made it easy to separate into sections that would fit under my EasyPress.
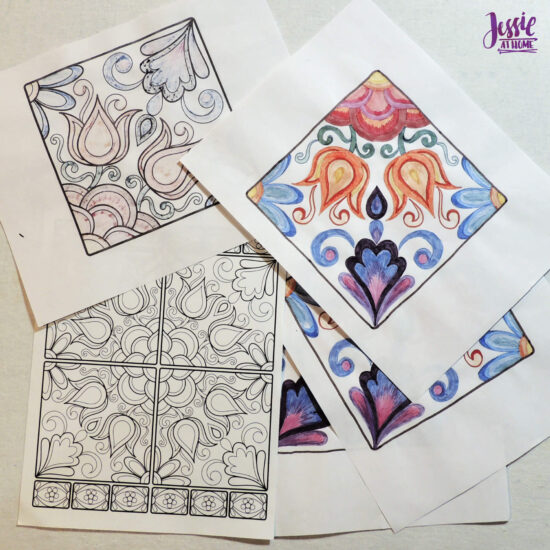
I scanned the image on my printer, and then edited it on my computer to make it the size I wanted (about 6 1/2″ square). Then I printed it out 4 times. I colored each of the 4 squares on the back with the Artesprix sublimation markers.
Sublimation Time!
Once your images are all colored with your sublimation markers, it’s time for the heat. First place a layer of protective paper on your work surface. This piece will be able to be used again, but it’s good to have it down as the bottom of your sublimation sandwich.
Next, prep your blank. Make sure all your sequins are flipped to the white side. There may be a few you have to turn individually, but most of them should flip easily with a few swipes. Then run over the sequins with a lint roller to pick up any dust or other particles.
Place the pillow case sequin side up on the protective paper. We chose to have the zipper at the bottom of our images, so the sequins were all pointing down on the white side. Place your image as you want it and tape it down with heat tape.
Our images were all on multiple piece of paper. First we chose the layout for all the pieces, then we taped them down and pressed them one at a time. This way each part fit under our heat source entirely.
Now place a piece of protective paper that is slightly larger than your heat source on top of your image. Press. You can find the time and temperature for each blank on the Artesprix site. Be sure to use the correct time and temp.
Carefully peel up a corner and check your work (but don’t burn yourself!). This is where we found something interesting. For some reason, Vada’s lettering wasn’t as dark on one side. We had only pulled it up from one side and still had it secure on the other. This meant we could have carefully placed it back down without getting a shadow, but Vada decided they liked it.

Finishing
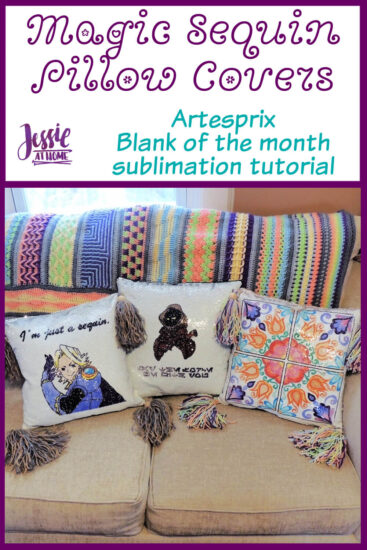
Once you’ve recovered from the “Oooo”ing and “Ahhhh”ing at your masterpiece, it’s time to pillow. Decorate your magic sequin pillow cover in any other ways you want, such as by adding tassels to the corners. Then stuff in your pillow insert and enjoy!
Here are some supplies you may find useful.
Happy crafting my friends.
Did you enjoy what you found here at Jessie At Home? Then sign up for my newsletter and like my Facebook page, so you’ll get all the updates on new tutorials, other posts, sales, and coming events.
If you have any questions, want to share pictures of your work, or just want to chat with Jessie and other crafty individuals, than join one of our free Zoom Sit & Stitches. Find them on our Events Calendar.

© Copyright 2021 Jessie Rayot / Jessie At Home®, LLC All my videos, patterns, charts, photos and posts are my own work, so you may not copy them in any way. If you want to share this information with someone, then share the link to this post.
Now that you know how to make a Sublimation Magic Sequin Pillow Cover, try one of these.