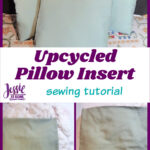
Upcycled Pillow Inserts are a great way to reuse old throw pillows you have tucked away, and give your room an update.
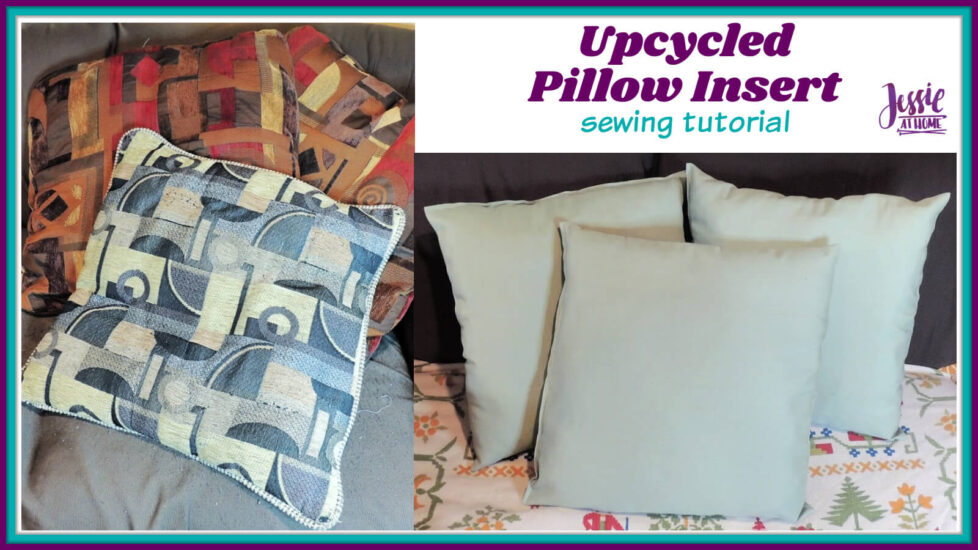
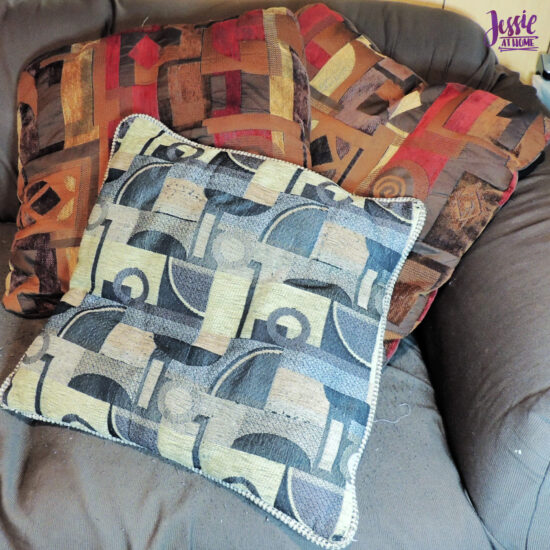
We’ve gone through a few couches in the 15 years Doug and I have been married. Because of that, we seem to have a collection of old throw pillows that don’t really match anything. They’re still soft and comfy, so it seems silly to get rid of them.
When the Artesprix Blank of the Month for March 2021 was announced, I knew what to do with those old pillows! I upcycled them into pillow inserts (or pillow forms). So now I’m going to teach you how to upcycle your old pillows.
Upcycled Pillow Insert Supplies
- Old Pillows
- Fabric (light color, we’ll go over how much in a bit)
- Fabric scissors
- Tape measure
- Fabric Pencil
- Straight Pins
- Seam Ripper *optional
- Sewing Machine
- Thread
- Iron
- Ironing Surface
Cutting and Sewing
To make your upcycle pillow inserts, you need to know how big you want them to be. In my case I was using them to go inside 18″ by 18″ pillow covers for my latest Artesprix creations, HERE.
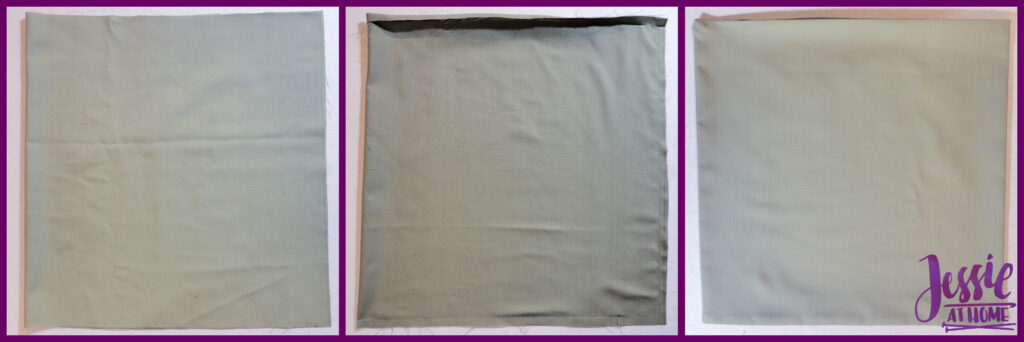
Once you know the size of your pillow insert, you can cut your fabric. You can cut 2 pieces that are 1″ bigger in length and width then your final size (so for me that would be 19″ x 19″). Alternately, you could cut one piece that is 1″ bigger then your final length or width, by 1″ bigger than DOUBLE the other measurement (so for me that would be 19″ x 37″). Either works, just go with what fits in the fabric you have.
Now, fold the long edge of the single piece over 1/2″ towards the inside and press. If using two pieces, fold one edge on each piece, making sure they are both the same size edge if your pillow is not square. Pressing this now is much easier than after it’s sewn together.
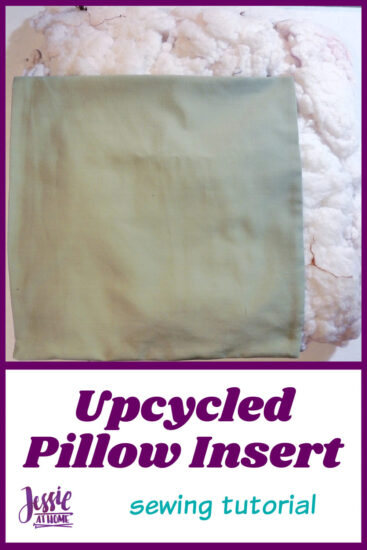
Place the two pieces on top of each other, right sides together, or fold the one piece in half, right sides together. Pin and sew (1/2″ seam allowance) the cut edges that are not folded. Flip the fabric right side out and press.
Stuffing and finishing
I had fun with the next part: tear open those old pillows! I used a seam ripper, but you can always just cut the fabric. Whatever works for you. Most store-bought pillows have insides that are sort of one big piece. That was the case with mine.
If you have the one-piece insides, then lay them out and place your pillow insert on top, lining up a corner and the 2 sides coming off that corner. Cut away the excess from the insides.
If you just have loose stuffing, then just open up your old pillow and move onto the next step.
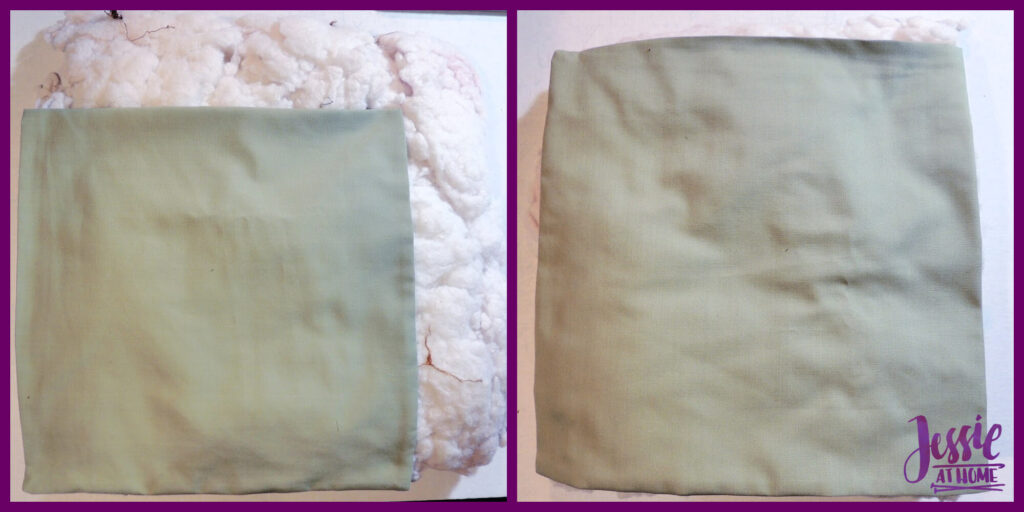
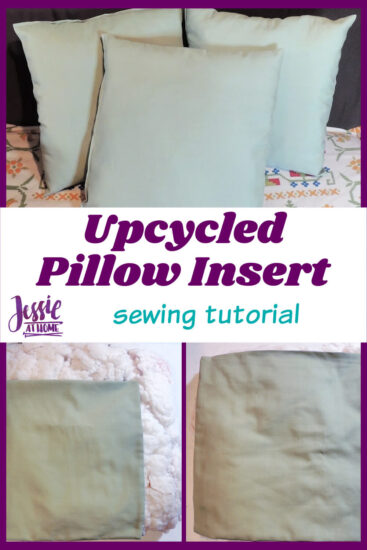
Now it’s time to stuff! Stuff your upcycled pillow insert with the single piece of stuffing from your old pillow, or with as much of the loose stuffing as you like. Pin the open edges together at the fold (make sure they are folded in!), and sew about 1/8″ from the edge.
That’s it, they’re done!
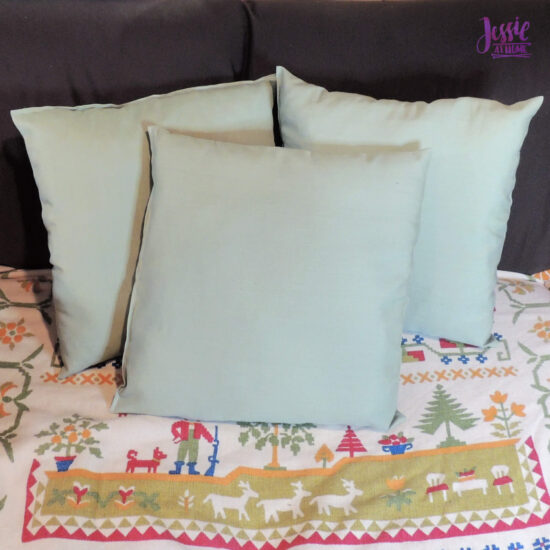
Now take your shiny and new upcycled pillow inserts and insert them into your super cool pillow covers. Aren’t you thrifty and awesome?!

Happy crafting, my friends!
Here are some supplies you may find useful.
Happy stitching my friends.
Did you enjoy what you found here at Jessie At Home? Then sign up for my newsletter and like my Facebook page, so you’ll get all the updates on new tutorials, other posts, sales, and coming events.
If you have any questions, want to share pictures of your work, or just want to chat with Jessie and other crafty individuals, than join one of our free Zoom Sit & Stitches. Find them on our Events Calendar.

© Copyright 2021 Jessie Rayot / Jessie At Home®, LLC All my videos, patterns, charts, photos and posts are my own work, so you may not copy them in any way. If you want to share this information with someone, then share the link to this post.