
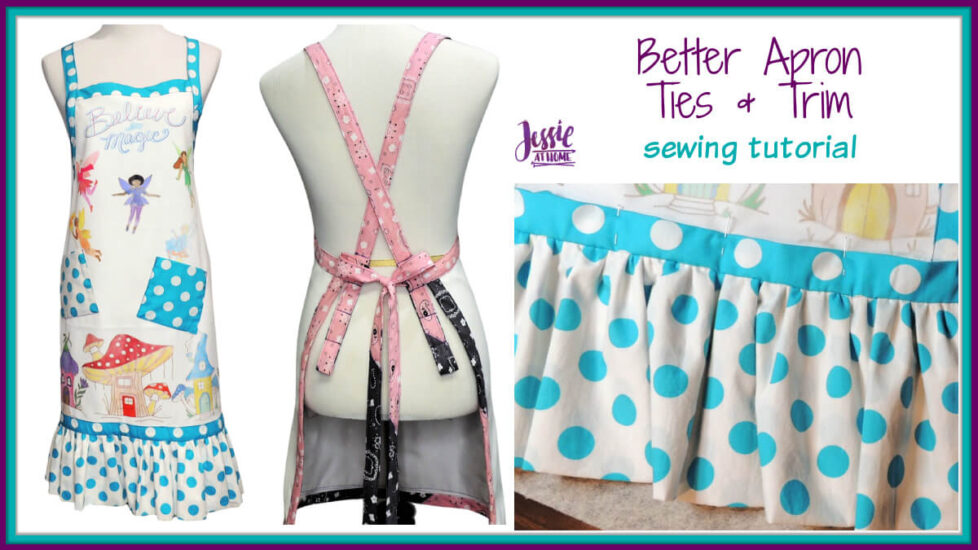
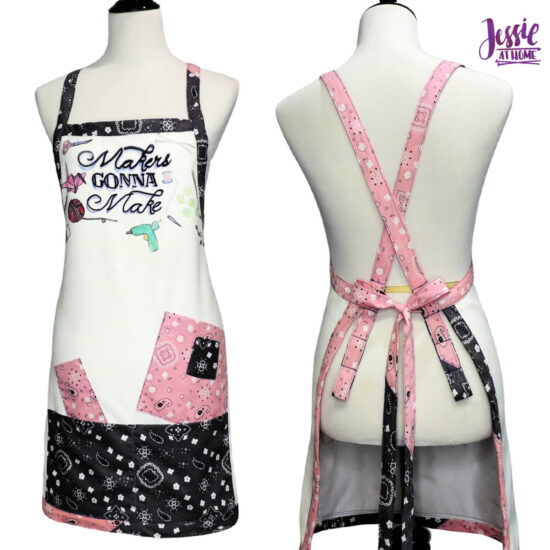
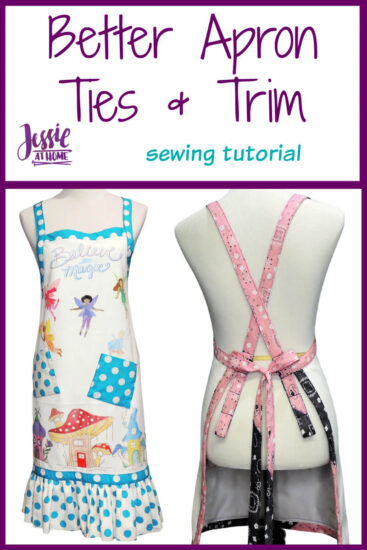
Need better apron ties? Try these ties that don’t pull on your neck and can fit a variety of sizes. You can even add ruffles!
Some products in this tutorial were provided by Artesprix. All opinions are my own.
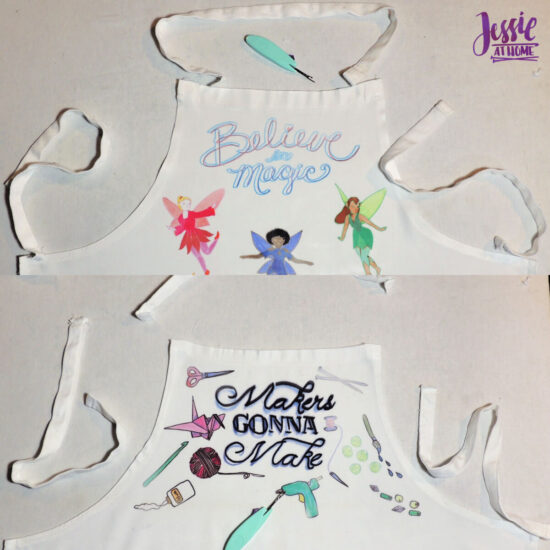
I don’t know about you, but I’m not all that fond of the wrap-behind-the-neck apron straps. As soon as I start putting things in my pockets, my neck starts hurting. So, in this tutorial I’ll show you how to replace the neck and tie strings and add some pretty trim. I’ll even share how to add a little ruffle on the bottom of your apron.
The aprons in this tutorial are the Artesprix June 2021 Blank of the Month. Remember to use use code Jessie10 to get 10% off at Artesprix. You can find the tutorials for the Apron decoration (sublimation) HERE, and the apron pockets HERE.
Better Apron Ties Supplies (hee hee, that rhymes!)
Use code Jessie10 to get 10% off your Artesprix order – not valid on the Heat Press or sale items.
- Apron (this is the one I’m using)
- 1 yd Quilting Fabric
- 4 yard 3/4 inch white ribbon, not stretchy, cut in 1 yard pieces
- Heavy Thread (such as quilting thread)
- Sewing Machine
- Sewing Thread
- Sewing Needle
- Straight Pins
- Iron
Highlights Video
If you can’t see this video, try watching it on YouTube HERE.
Prep
To get started you’re going to need to remove the current straps. A seam ripper is super helpful here.
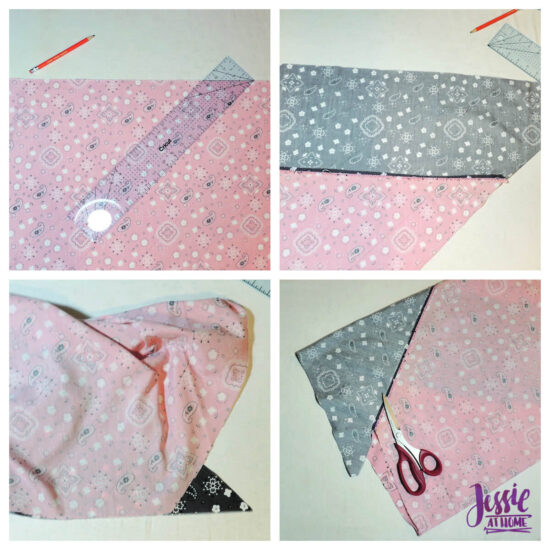
Now it’s time to make some bias tape. You’re going to need about 8 yards, depending on the size of your apron and the length you want the straps. Lay your fabric out flat and draw a diagonal line exactly 45° from one corner to the other side. Continue drawing lines 3″ apart.
If you’re using two colors, sew them together lining up the 3″ sections. Now fold the two ends together so the end of the first 3″ strip connects to the beginning of the second strip, and so on. Press the seams open and cut along the lines.
Fold and press one side of the bias tape up 1/2″.
If you want to make the ruffle on the bottom, you’ll need two pieces of fabric cut on the straight grain that are 2″ tall by 2″ longer than the length of the bottom of the apron. You’ll also need one piece 12″ tall by 2 times the length of the first two pieces.
Attaching Your Better Apron Ties
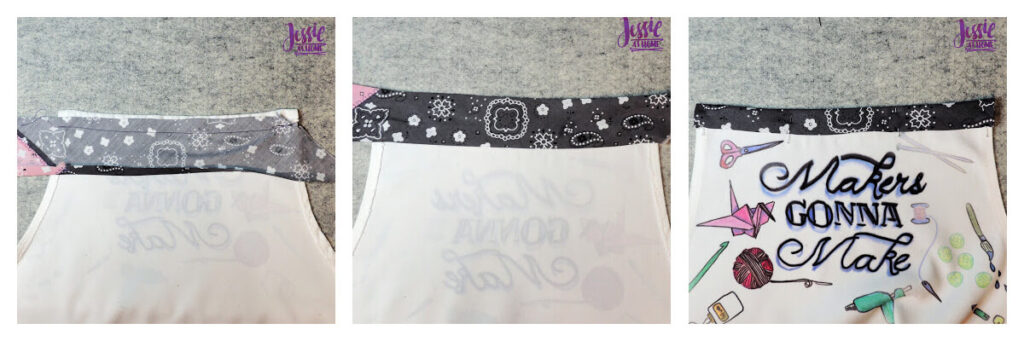
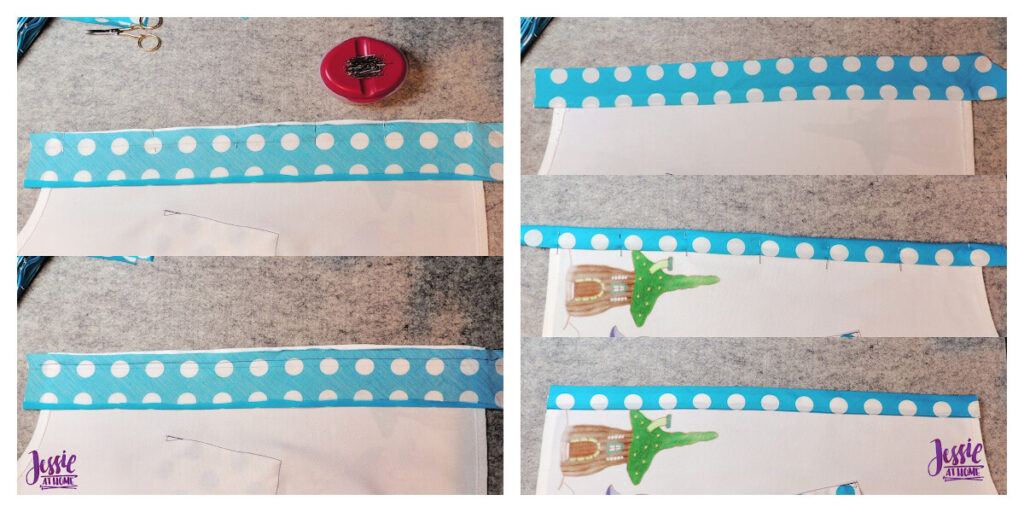
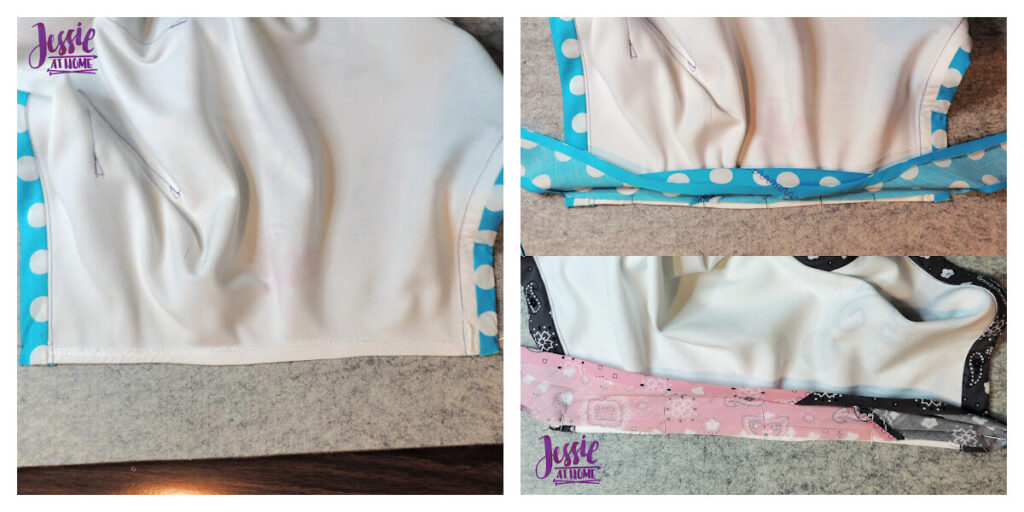
Cut a piece of bias tape just a bit longer than the top of the apron. Pin the right side of the unfolded edge to the wrong side of the apron top. Sew with a 3/8″ seam allowance. Fold the tape up and press, then fold it over to the front. Pin the tape and sew it close to the edge. Press well and trim the ends even with the sides of the apron.
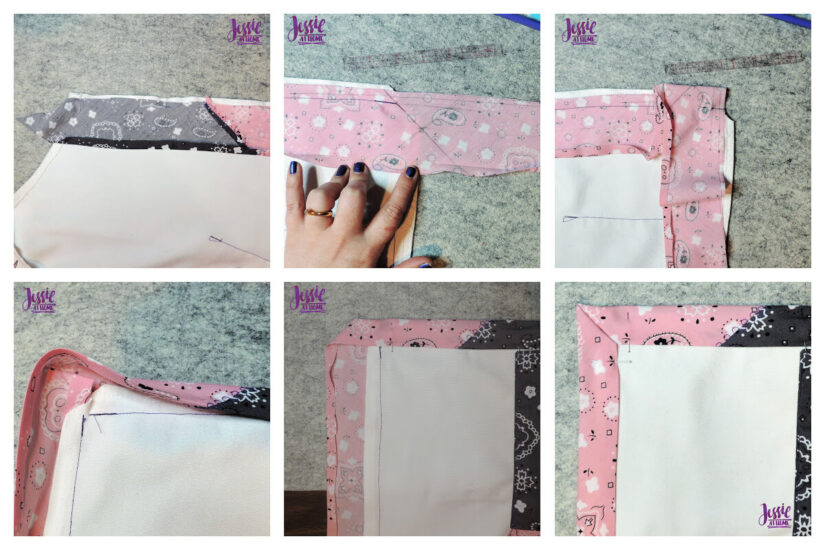
Place the apron right side down. Pin the unfolded edge of the bias tape right side down to the right side of the apron, do not cut. Sew with a 3/8″ seam allowance, stopping 3/8″ from the bottom of the apron. Draw a diagonal line from the end of the seam across the trim. Find the middle of the line and draw a line in the other diagonal that crosses at the middle.
Pin tape across the bottom, starting with the opposite side of the “x” just drawn, still on the unfolded edge of the tape. Sew with a 3/8″ seam allowance, stopping 3/8″ from the side of the apron. Repeat the corner process to finish sewing the tape up the opposite side.
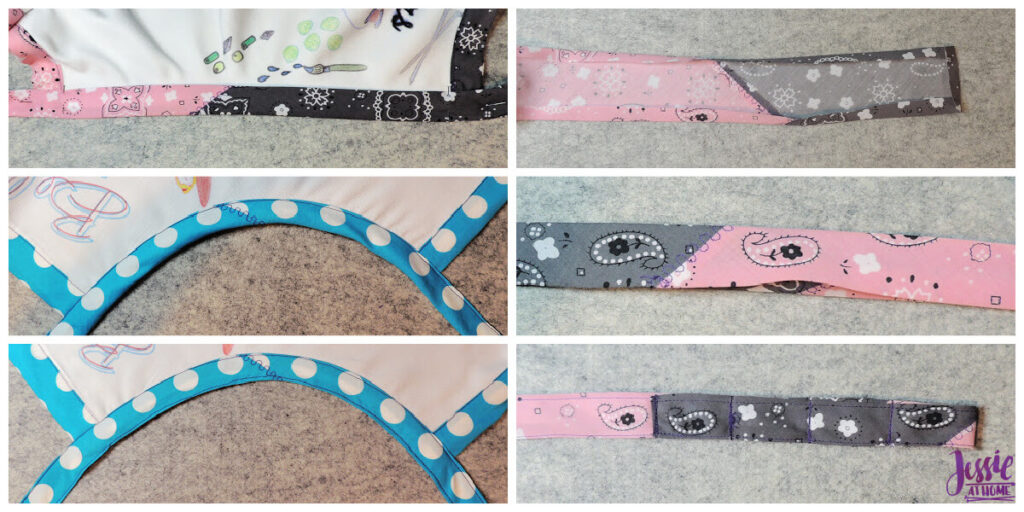
Press all the tape up, then wrap it over the apron to the front. Pin tape, making mitered corners, and sew close to the edge. Press and cut ends flush with edges.
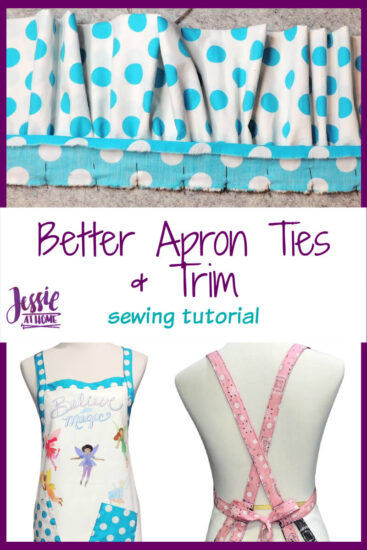
Ruffle
If you’re making the ruffle on the bottom, then attach trim to both sides of the apron in the same manner as for the top. Fold one of the long edges of each of the 2″ trim piece over 1/2″ and press.
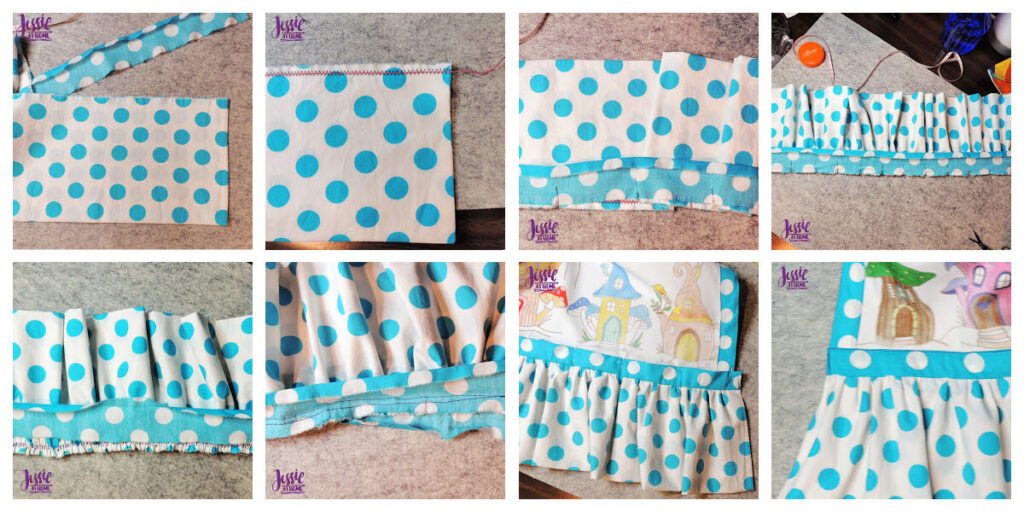
Fold the 12″ piece in half and sew the 2 ends with a 1/2″ seam allowance. Flip piece right side out and press flat. Make a wide and long zig zag stitch close to the open edge of the ruffle piece, sewing over a piece of heavy duty thread without catching it under the needle.
Fold the ruffle piece and both 2″ wide piece in half 3 times and mark all the fold points with pins. This will divide each piece into eighths. Pin the ruffle to the unfolded edge of one of the trim pieces, pinning at each of the marks.
Pull one end of the heavy thread to gather the ruffle until half of it is gathered, then repeat on the other end. Evenly space out the gathers and pin more as needed. Sew with a 3/8″ seam allowance.
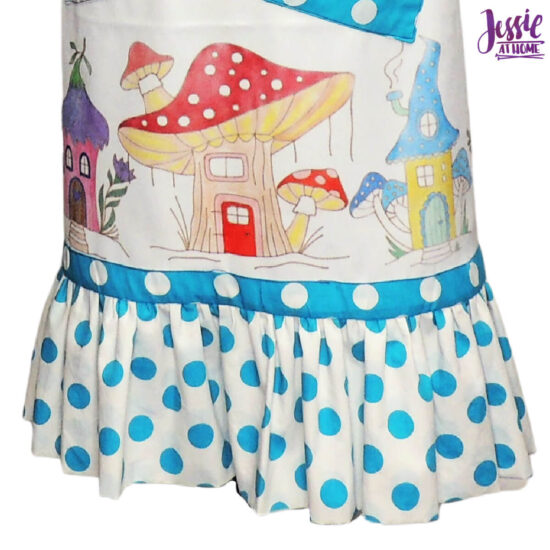
Pin the other 2″ piece of trim to the other side of the ruffle, so the ruffle is sandwiched between the 2 trim pieces. Sew together with a 1/2″ seam allowance. Press the trim up and sandwich the apron bottom in the middle of the trim, leaving the bit of extra hanging off both sides. Stitch close to edge, taking care to catch both sides.
Fold the extra on the side under to the back and top stitch on the side on just the trim section.
Better Apron Ties Underarms and Ties
Lay apron right side down and straighten one armhole without stretching it. Cut a 2 1/2 yard piece of bias tape and find the center. Pin the center of the right side of the unfolded edge of the tape to the center of the armhole. Pull the tape tight and continue pining to both edges of the armhole. Sew with a 3/8″ seam allowance.
Fold tape around armhole and pin on front, keeping the stretch. Place a 1 yard piece of ribbon at both ends of armholes so they are inside the tape and under the apron about 1/2″. Sew tape close to edge. Fold remaining edge of tape in 1/4″, press, then fold it in half and press again.
Sew edges of tape together, keeping the ribbon inside. You may want to pull the tap a bit to keep it from getting ripples.
Allow the armhole to go back to its shape and press the tape. Topstich the tape along the folded edge, keeping the armhole curve.
Measure the two ties coming from the neck of the apron and mark at 30″, then press. Topstitch doubled section every 1 1/2 to 2″ up to the edge of the folded section.
Repeat on other side.
Cross the neck ties and thread the waist ties through one of the openings made by the folded sections. Adjust which opening you use to adjust the side of the apron.
Don’t forget to use code Jessie10 to get 10% off your Artesprix order – not valid on the Heat Press or sale items.
Happy crafting my friends!
Did you enjoy what you found here at Jessie At Home? Then sign up for my newsletter and like my Facebook page, so you’ll get all the updates on new tutorials, other posts, sales, and coming events.
If you have any questions, want to share pictures of your work, or just want to chat with Jessie and other crafty individuals, than join one of our free Zoom Sit & Stitches. Find them on our Events Calendar.

© Copyright 2021 Jessie Rayot / Jessie At Home®, LLC All my videos, patterns, charts, photos and posts are my own work, so you may not copy them in any way. If you want to share this information with someone, then share the link to this post.


Love the polka dots. While searching for easy apron patterns look what I found. Your skills far surpass mine but maybe in the future, I can accomplish an apron like your very cool one.
Be well!
Thank you. This is just adding ties and trim to an apron, not a full apron pattern. I’m sure there are some awesome easy apron patterns out there for you. Happy sewing!